
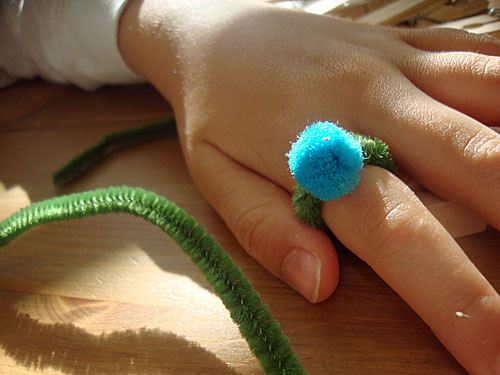
The kids and I sat down to get crafty for about 20 minutes... they made jewelry using pipe cleaners and pom-poms, while I sat with a stack of wooden clothespins and slowly added color to our art display...


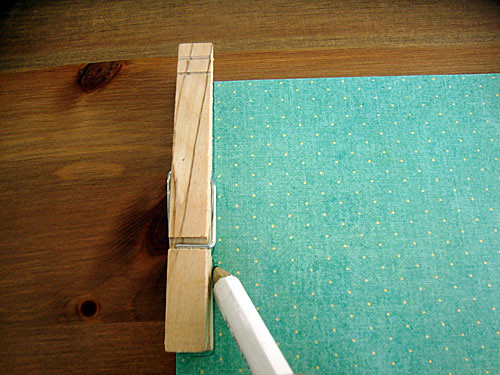
For this project, you'll need wooden clothespins, scrapbook paper, a pencil, scissors, and glue (I used Artquest's Perfect Paper Adhesive, but I think Elmers glue would work just as good). Lay a clothespin on the paper and trace the edges to make an outline...
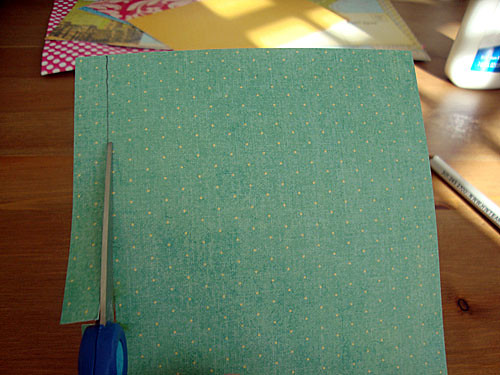
Then cut along the pencil marks and you should have a paper the size of a clothespin...

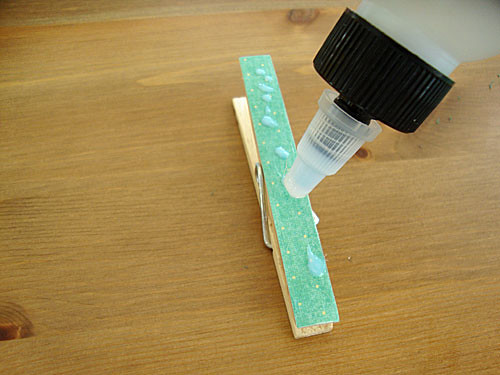
Turn over the paper and squeeze glue along the entire backside of the paper (don't be shy, the more the better)...

Then place the paper on top of the clothespin, glue side down. Get out the glue again and squeeze more glue along the top side of the paper...
Rub the glue along the top and sides of the paper with your finger to blend it in....

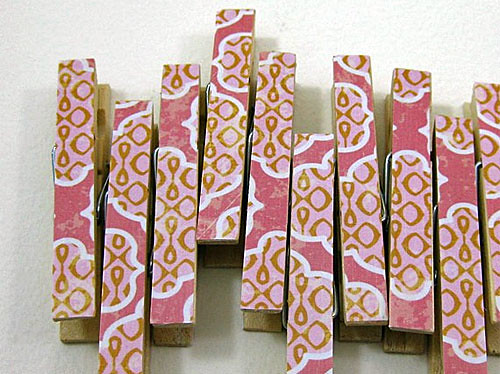
Then pinch the sides and ends of the paper/clothespin to squeeze the paper/glue/clothespin together. Pinch until the paper sides are completely stuck to the clothespin (it's ok to have glue oozing on to the sides, just smooth it out with your finger and the edges of the paper will stick to the clothespin)...


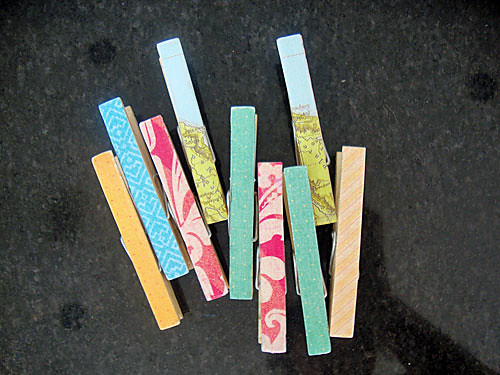
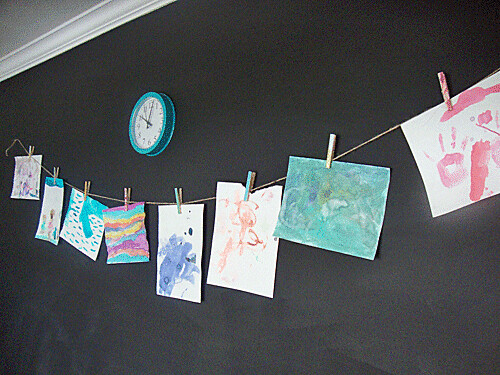
And, here's the new clothespins holding up our artwork in the playoom...

If you'd rather have them arrive in your mailbox already made, you can buy something like these from The Papered Crown on Etsy....
so cute! I did this in Skylyns' nursery with her photos :-)
ReplyDeleteRebecca B
oooh, fun!!! Send pictures.... I'd love to see (and maybe even post).
ReplyDeleteWONDERFUL Post.thanks for share..more wait..
ReplyDeleteClick Here
Muabs.com