Apr 29, 2011

The Comfy Outdoors

The weather is for sure warming up down here (high 80s)... makes me want to grab some freshly squeezed lemonade, a few hand-picked strawberries from my potted plant and enjoy the fresh air in one of these comfy outdoor spaces....

Porch

Porch

Porch

Porch

Apologies, Source Unknown


Enjoy your weekend (and maybe a glass of lemonade)!!!

Apr 28, 2011

Fabric Choices

Oooh, look what arrived in my mailbox... fabric samples!!!  The window side of the playroom is waiting for some bold color and pattern (or maybe that's just me), so one of these lovlies will be made into floor-to-ceiling curtains and hung on each side of the window. 

Fabric

Fabric

I'm really excited to get started on this project.  I've been starring at the samples around the window and I think I've finally chosen a fabric.... I'm leaning toward.... Varenna Charcoal, from Tonic Living.

Fabric

Fabric

Isn't that pattern beautifulI realize it may be a little dark for some people, but I think this playroom is the perfect room to display the print.  The room has so much white (and bright colored toys) for contrast and the black chalkboard wall on the opposite side is really going to help balance the room, once the charcoal-colored-fabric is hung.

Fabric

If you've been following along, you may have noticed the chairs around the table are missing... they are outside on drop cloths waiting for a little makeover.  The piano table and ottoman against the chalkboard wall are in the middle of a makeover too.  More details to come soon!

Back to the fabric, would you have chosen the charcoal-colored-print?  If not, which pattern would you choose?

Apr 27, 2011

Ottava Light

During the week that my parents were visiting, I got a quick electrical lesson from my dad (he's a well-rounded guy with lots of talents!).  I've never hung a light before, but with so many boob lights (seriously, that's what they're called, ha) around my house, it's about time I learned a thing or two about electrical wires and switching out light fixtures.

This is the light that was in my son's room (the boob light)... I couldn't wait to take it down.

Light

I bought the Ottava light from Ikea... it's an industrial-looking-light and I thought a hanging light would be a more interesting replacement, especially since the ceiling is ten feet high.

Ottava

Here goes.... after a few instructions from my dad, I climbed the ladder and started my first project (don't let this picture fool you, he was up on that ladder more than I was!).

Light

After a little unscrewing, wire twisting and tightening, the Ottava light was hung... lights on...

Light

Lights off...

Light

And one more light picture...

Light

Love it and for $29.99, I really couldn't beat the price!

Can you guess the next project for this room?  Can you say C-U-R-T-A-I-N-S???

Apr 26, 2011

Cover a Lampshade with Fabric and Ribbon

Recovering a lamp shade is one of the quickest and easiest ways to make a dramatic difference in a room, whether it's a lamp on a nightstand, on an end table, hanging from the ceiling, in the kitchen, or in my case.... on a desk in my son's bedroom.

I made a lamp shade go from this...

Lamp Before

to this, in less than an hour.

Lamp After

You can do it too!!!  Janell at Isabella & Max Rooms has posted precise steps, including detailed pictures, to show how recovering a lamp shade with fabric and trim can be so easy.   Her tutorial is so great, I figured I'll show you my lamp shade pictures and then link to her site for the tutorial... it's amazing!!!

Here's a glimpse into my project....

Lamp

Lamp

Lamp

Lamp

Lamp

Lamp

Done. That was an easy update...

M

Such a difference, right?

Grab your lamp shade, fabric and glue, and head over to Isabella & Max Rooms for an amazing tutorial:  How to Cover Lamp Shades with Fabric & Trim.

Apr 25, 2011

M for Metallic: The Tutorial

The painted metallic-looking-letter-M on my son's desk didn't always look this way...

M

Desk Area

When I first brought it home, it was a plain-looking-wooden-letter-M.  No stain.  No color.  Nothing.  So I painted it... light blue.  Then I leaned it against the window in his bedroom when we lived in VA (you can see his old room here).

The light blue color was a good fit at the time, but now in his new room here in TX, I wanted to add a little edge to the M.  So I looked in my paint stash and found a small bottle of Folk Art brand paint in Metallic Taupe.  Perfect!  I gathered the M, a brush, and the paint and got work.

M

I brushed one light and even coat on the top of the M, right over the blue.

M

M

Once the first coat of paint was dry (it didn't take long), I brushed paint along a few of the edges and corners. Then I brushed a little paint in the middle to darken some areas and give the M a little depth.

M

After the paint was dry, it looked like this... a little more rough, tough and manly than the previous plain-baby-blue color.

M

M

And, here it is propped on the desk... I'm lovin' the glow that a small amount of metallic paint adds.

M

Interested in seeing more of this room?  Before I started decorating the room, I searched for bedroom ideas, then looked for fabric, created a plan, made a duvet cover, painted the closet, layered the bedding, created a gallery wall here and here, set up the desk, hammered a nailhead bulletin board together, and today added the metallic-looking-M... the room is almost done, but there's still more to come.  I invite you to follow along with me!

This post is linked to the Centsational Girl, Tip Junkie, The Trendy Treehouse, The Lettered Cottage  Fingerprints on the Fridge, Remodelaholic and The DIY Showoff.

Apr 22, 2011

Happy Easter

We'll celebrate Easter this weekend and aside from the parties, pretty dresses, new shoes, and chocolate galore, the real reason we rejoice is because our Savior lives and we're so thankful for his faithfulness.

eggs

I hope you have a wonderful Easter weekend and have time to reflect on His goodness and mercy!!!

Apr 21, 2011

Nailhead Bulletin Board: The Tutorial

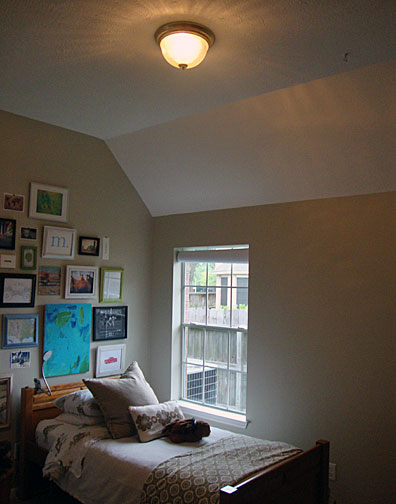
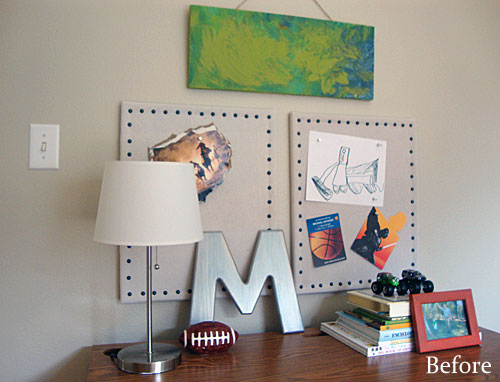
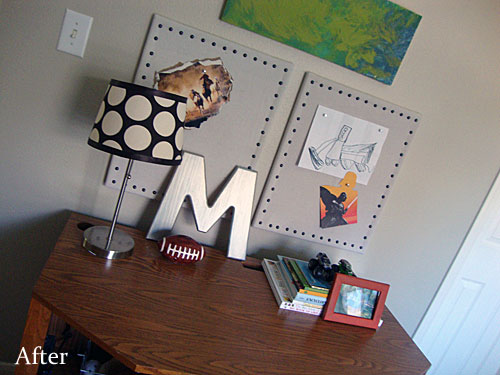
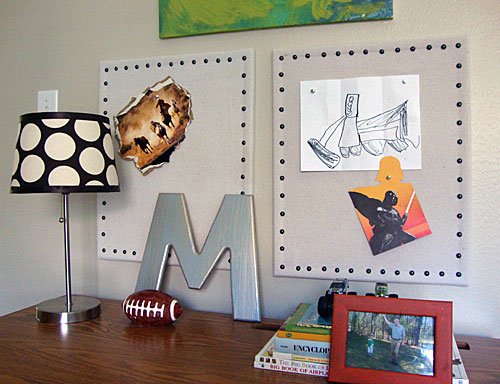
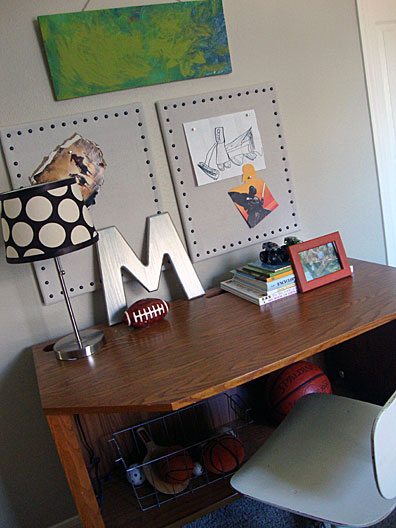
The desk area is complete in my son's bedroom and above the desk are two nailhead bulletin boards tacked with fun memories.  The nailhead bulletin board originally looked like cork cut to fit inside a regular ol' wooden frame, but I decided to update the look with painter's drop cloth and a some nailheads....

Desk Area

You can do this too...

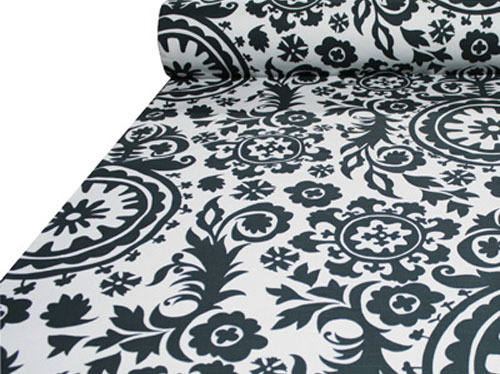
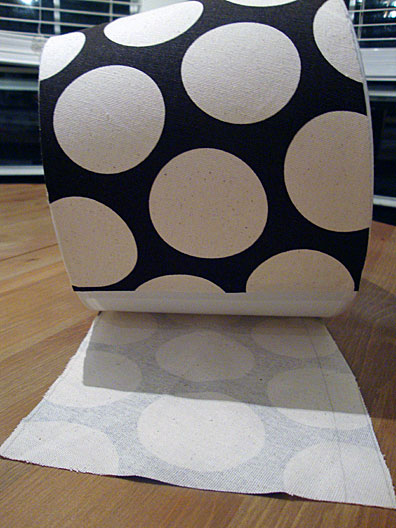
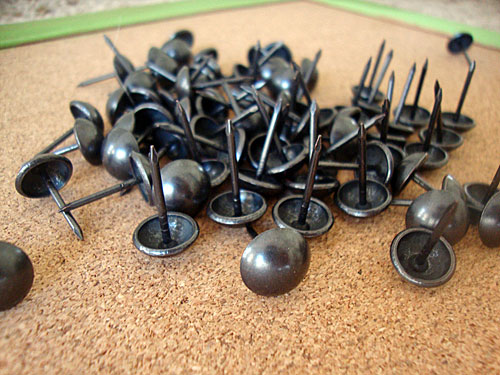
Gather a framed bulletin board, fabric (I used painter's drop cloths), a staple gun, and a whole lot of these (nailheads):

Nailhead Bulliten Board

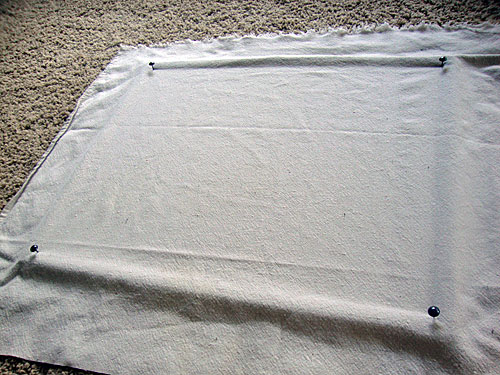
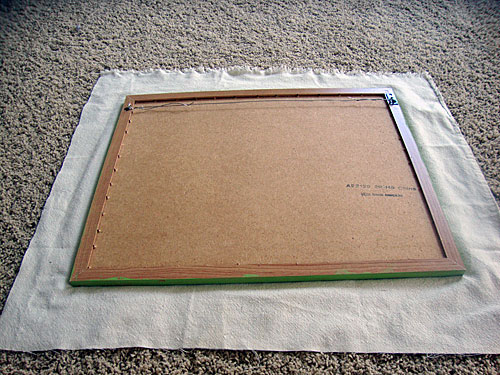
Measure the frame and add two inches to each side, then cut the fabric to fit the measurement.  It should look something like this once the bulletin board is placed on top of the cut fabric...

Nailhead Bulliten Board

Place the fabric on top of the bulletin board...

Nailhead Bulliten Board

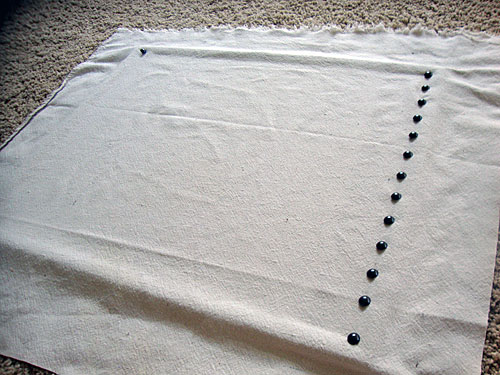
Smooth out the fabric and push a nailhead into each corner of the board to hold the fabric in place (I pushed the nail in the cork - not the wooden frame).

Nailhead Bulliten Board

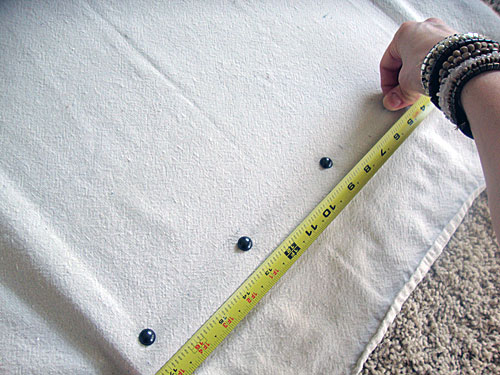
Add nailheads along one side, equal space apart.  Placing a measuring tape along the edge helped me figure out even spacing - every 1 1/2 inch.

Nailhead Bulliten Board


Nailhead Bulliten Board

Once the nailheads are lined up on one side, push nailheads in the opposite side of the board.  Then push the nailheads along the top, then the bottom.  Be sure to pull the fabric tight as you move along.

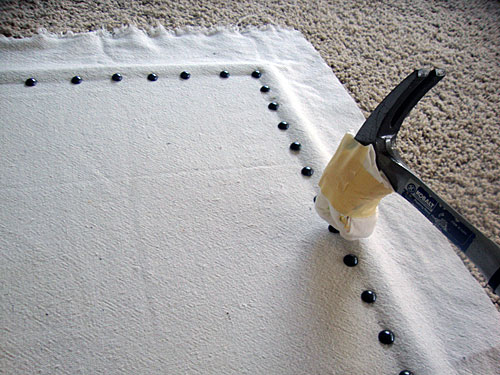
Double-check to make sure all the nailheads are pushed in the board... if some look out of line, pull them out and secure them again (remember, it's a bulletin board, there will be holes).  If some nailheads were a bit stubborn and didn't go in all the way, then hammer them in.  A rubber mallet is good to use so it won't take the finish off a nailhead.  I don't have one, so here's my version... a metal hammer wrapped with paper towel and taped together...

Nailhead Bulliten Board

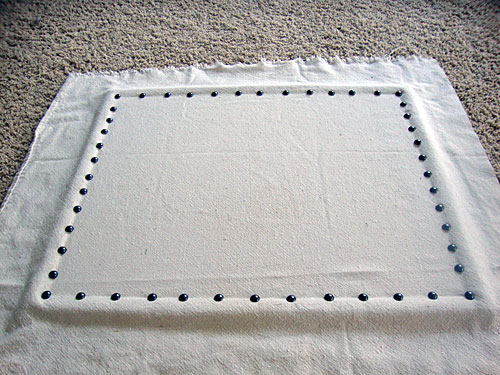
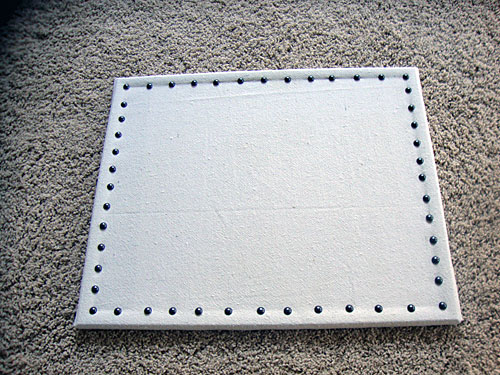
The front of the bulletin board should eventually look similar to this...

Nailhead Bulliten Board

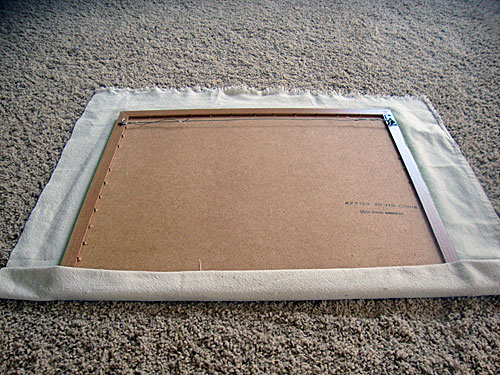
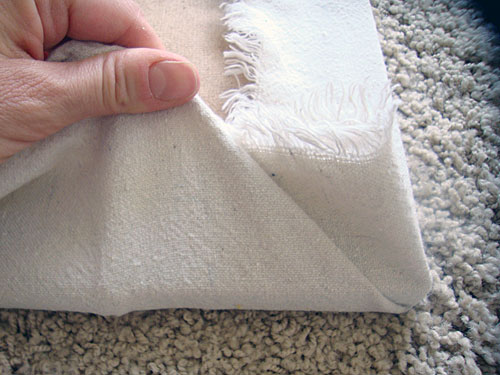
Then turn the bulletin board over and lay the fabric ends flat.

Nailhead Bulliten Board

Then folder over one edge onto the wooden frame, pulling it tight...

Nailhead Bulliten Board

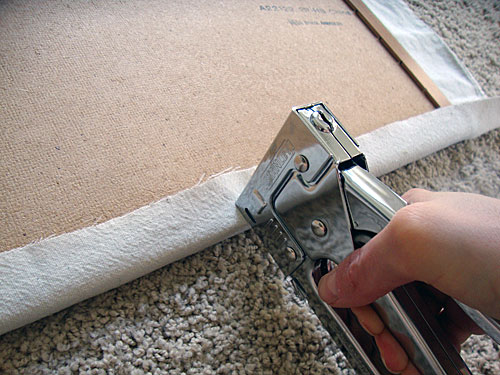
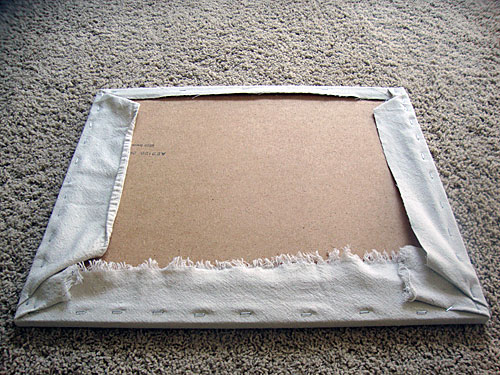
Use a staple gun to secure the fabric to the back of the frame...

Nailhead Bulliten Board

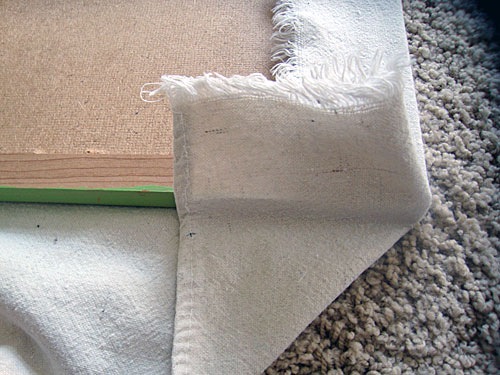
Then wrap the corners (just like folding a present)...

Nailhead Bulliten Board


Nailhead Bulliten Board

Staple all around the edges...

Nailhead Bulliten Board

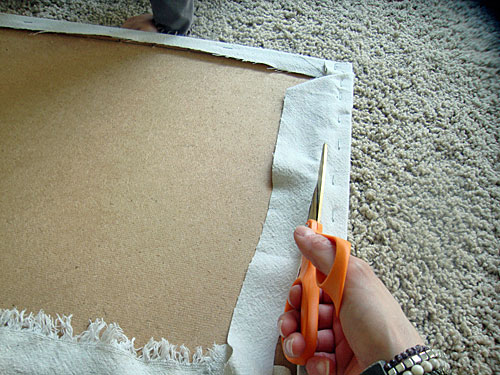
If your fabric has a lot of over-hang (like mine), take the scissors and cut off the excess....

Nailhead Bulliten Board

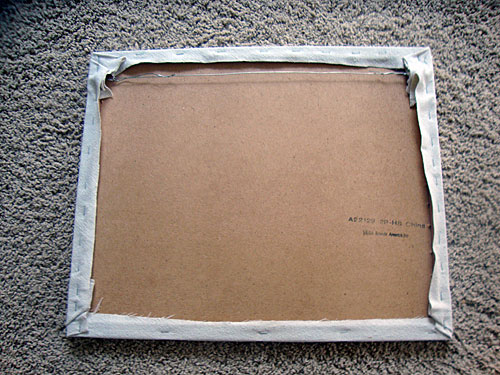
The back of the bulletin board should now look similar to this...

Nailhead Bulliten Board

And, when it's turned over, look similar to this...

Nailhead Bulliten Board

Time to hang it up....

Desk Area

This project could also be done with a bold colored fabric or a fun print to jazz it up a little.  How have you dressed up your bulletin boards?

Linking up to The Lettered Cottage, The Shabby Chic Cottage, 3 Meadow Lake Cottage, Keeping It Simple, Polly Want a Crafter, Skip To My Lou, Sisters of the Wild WestLaugh, Love and CraftFunky Junk InteriorsHappy To DesignChic on a Shoestring Decorating, Tatertots and Jello, Ginger Snap Crafts, Today's Creative Blog, Hope Studios, Around My Family Table, The DIY ShowoffCraft-O-Maniac, The Not So Simple Housewife and Six Sister's Stuff.
Related Posts Plugin for WordPress, Blogger...