Over the past several months, I've slowly tweaked our kitchen table area and small mudroom. Actually, what I call a mudroom is so, so tiny that I don't even know if I can really call it a mudroom, but we store a few on-the-go-items here, so it's our mini mudroom.
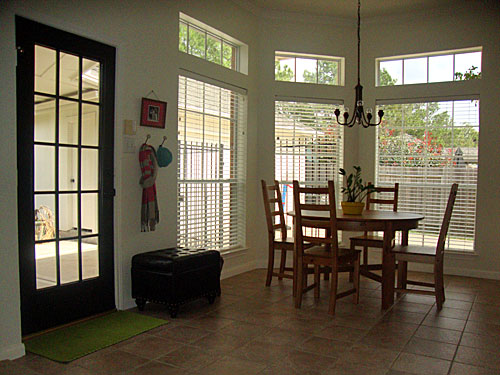
It was about a year ago that I last talked about the kitchen table and mini mudroom (ha- where has the time gone).... this is what it looked like last year....
And now.... progress (after a year!)....
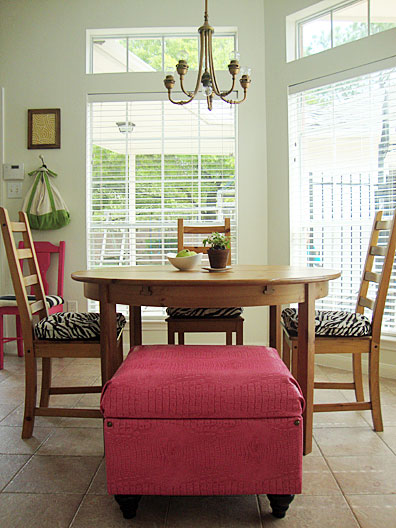
I added zebra print seat cushions to the wooden chairs and recovered the black ottoman with pink alligator faux fabric. The ottoman has been moved from the wall to the table for use as another seat and storage.... the kids and I keep our everyday shoes inside (the husbands are kept in the black closet). I only wish the inside of our ottoman looked this neat everyday!
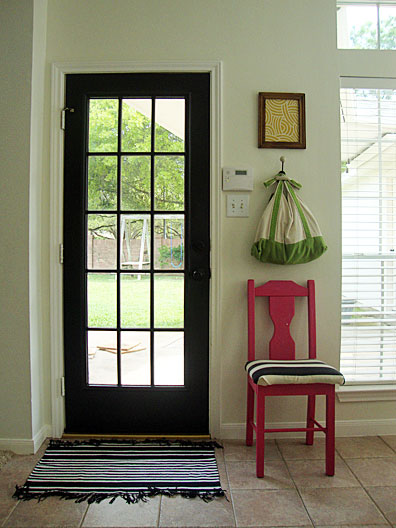
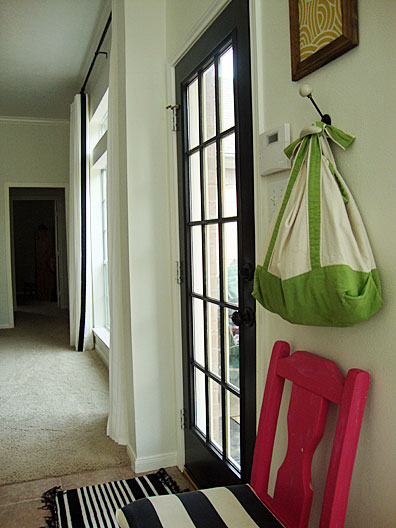
On the small wall next to the back door, I added a painted pink chair (Royal Fuchsia by Benjamin Moore) and covered the seat with a wide black and cream striped outdoor fabric from Tonic Living (the fabric in the frame is also from Tonic Living, Theo).
The setup has been working well so far! I'll leave you with a picture of the freshness sitting on my kitchen table.
Enjoy your weekend (I'll be watching the NCAA tournament and hoping my brackets finish strong!).
Showing posts with label Organization. Show all posts
Mar 16, 2012
Feb 27, 2012
Closet Organization
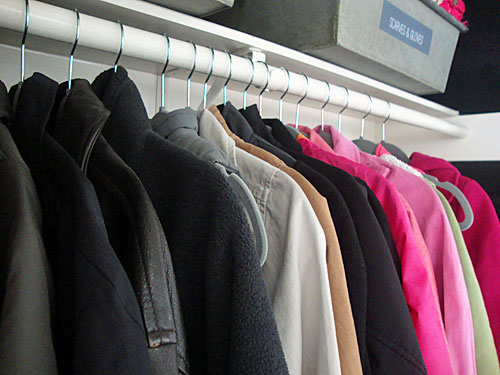
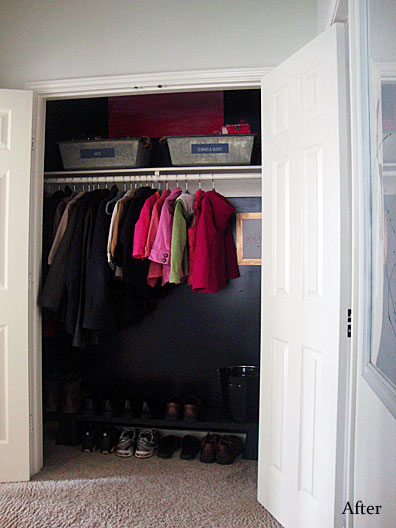
I recently followed Mrs. Limestone's Conquered Closet series and so many of the pictures inspired me to get creative and organize my own closet! So, over the weekend I painted my coat closet.... it has been transformed from a space we hang coats, aimlessly toss hats and scarves on a shelf and throw shoes on the floor to an organized closet..... an organized black closet! The new paint color, Benjamin Moore's Black Beauty, is perfect for the closet walls... it completely hides all those shoe scuff marks and brings a little style to the small space!

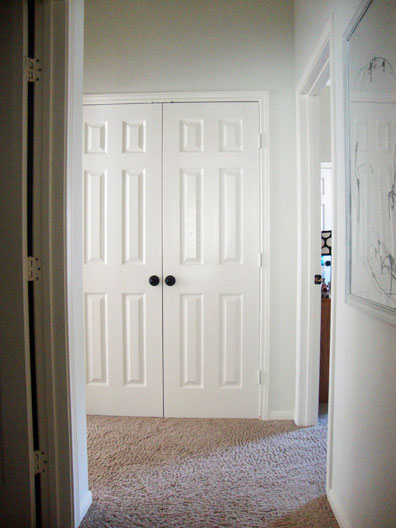
I started with a double-door closet that is tucked in a hallway toward the back of our house by two bedrooms and a laundry room.

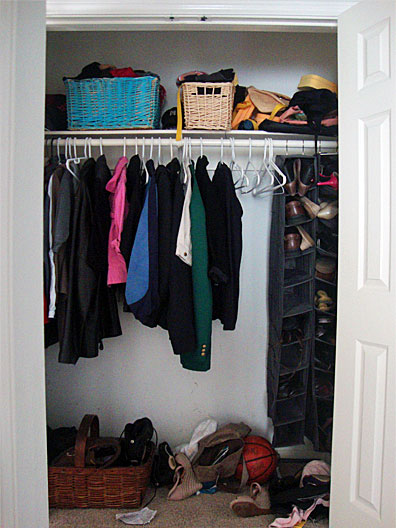
Over time came the closet came to look like this.... no good!

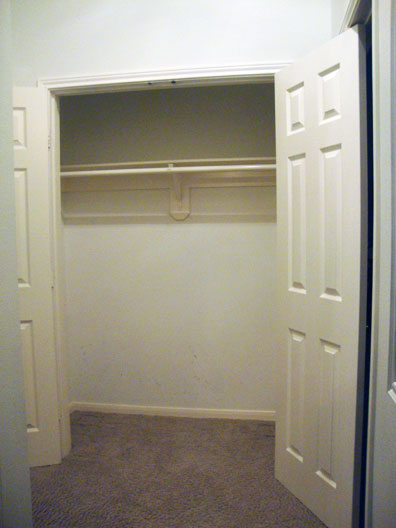
It needed organization.... so I took everything out, cleaned the shelves, baseboards etc...
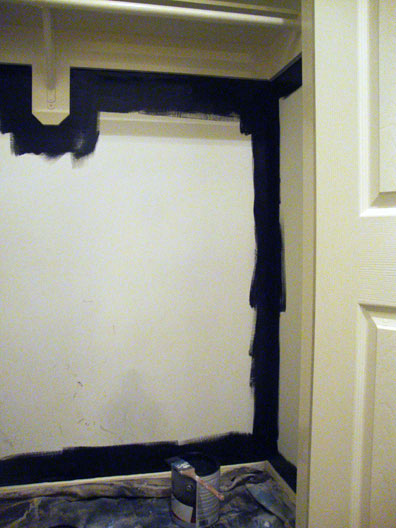
.... and then began the hard work.... squeezing myself inside the closet for a few hours, especially up on the top shelf to paint all the walls black.

Once the paint was dry, I brought most of our coats, shoes, hats, etc back inside the closet (the rest is being donated), plus a few extra goodies.
I bought matching gray suede hangers from Home Goods...


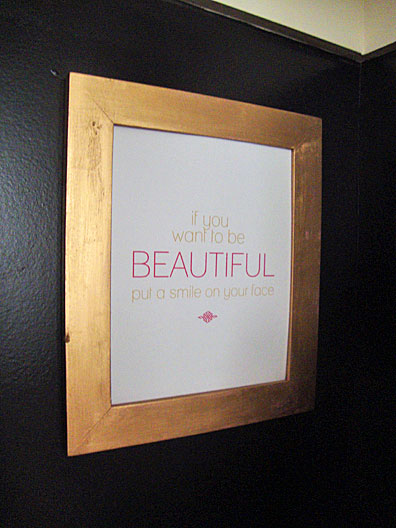
In an open area, I hung a gold frame with one of my new prints (free printable here).
I put my husbands shoes back in the closet (mine are now in the master bedroom closet- another area that needs to be cleaned and organized!). The husband's shoes are stored on a make-shift bench of plastic bed risers and an old piece of wood.


I started with a double-door closet that is tucked in a hallway toward the back of our house by two bedrooms and a laundry room.

Over time came the closet came to look like this.... no good!

It needed organization.... so I took everything out, cleaned the shelves, baseboards etc...
.... and then began the hard work.... squeezing myself inside the closet for a few hours, especially up on the top shelf to paint all the walls black.

Once the paint was dry, I brought most of our coats, shoes, hats, etc back inside the closet (the rest is being donated), plus a few extra goodies.
I bought matching gray suede hangers from Home Goods...

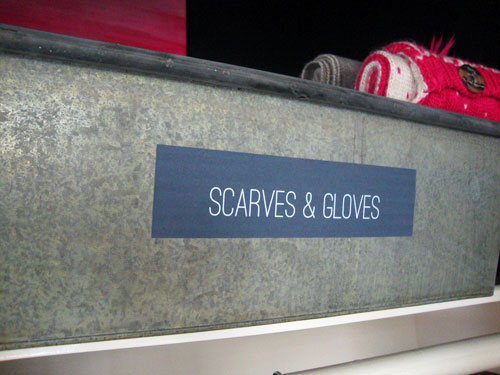
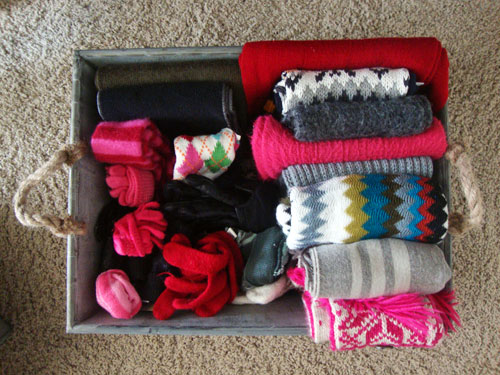
... and two galvanized bins to store our scarves, gloves and hats on the top shelf. I printed labels and attached them to the bins, just like in our playroom (free printable here).


In an open area, I hung a gold frame with one of my new prints (free printable here).
I put my husbands shoes back in the closet (mine are now in the master bedroom closet- another area that needs to be cleaned and organized!). The husband's shoes are stored on a make-shift bench of plastic bed risers and an old piece of wood.

And finally, what I love most, a good before and after photo....
Now that this closet is organized, it's given me the motivation to organize the rest of the closets in our house (and some drawers). My mind feels more organized when my closets and drawers are organized.... think spring cleaning over here!
Categories:
Doors,
Hallways,
My House - Texas,
Organization,
Paint Colors
Feb 23, 2012
Bookshelf Styling Tips
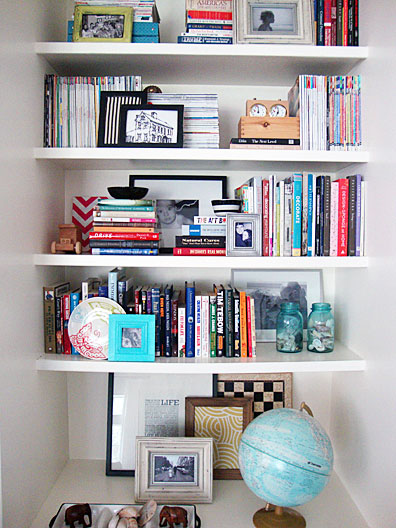
In between painting and organizing my hall closet (a work in progress), I decided to restyle the bookshelf in my living room. Over the past few months, I've accumulated a few more books and magazines and the bookshelf seemed to be a little overcrowded. So, a small update was needed.... I love it now!

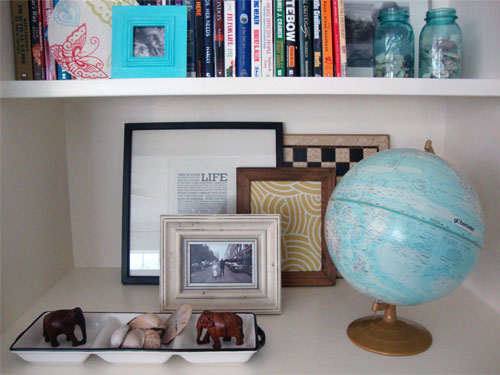
I moved some books, rotated a few more and then added other interesting objects from around the house. These are a few tricks I use when styling a bookshelf:


Styling a bookshelf is always a fun and quick project! Here's one last distance photo of the newly styled bookshelf in the living room....

I hope you have an enjoyable weekend.... I'll be back next week to (hopefully) show you a finished painted and organized hall closet!

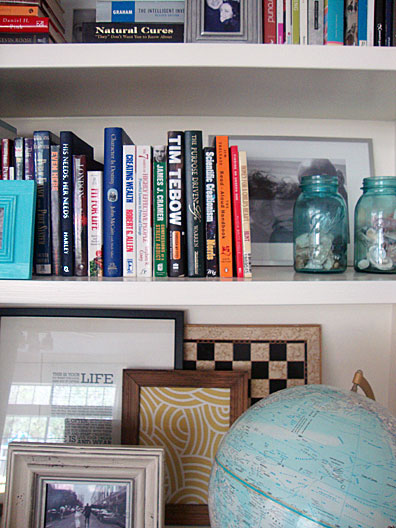
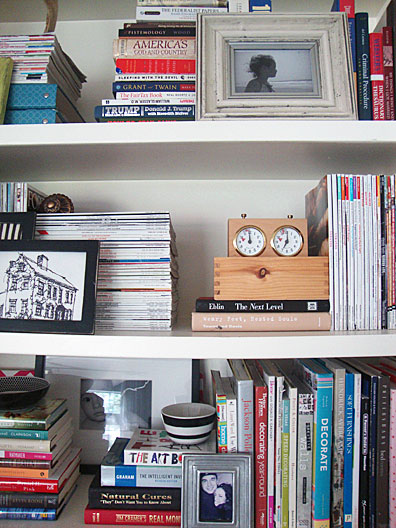
I moved some books, rotated a few more and then added other interesting objects from around the house. These are a few tricks I use when styling a bookshelf:
- alternate between stacking books horizontal and vertical
- add framed photos and art throughout the arrangement
- lean smaller frames in front of books and larger ones against the back shelf wall
- overlap frames to provide an intriguing look
- position treasures on top, in front or beside the piles of books (ie. antlers, handmade wooden vehicles, game pieces, plates, etc)
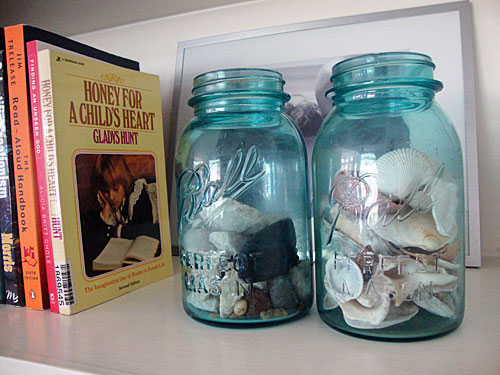
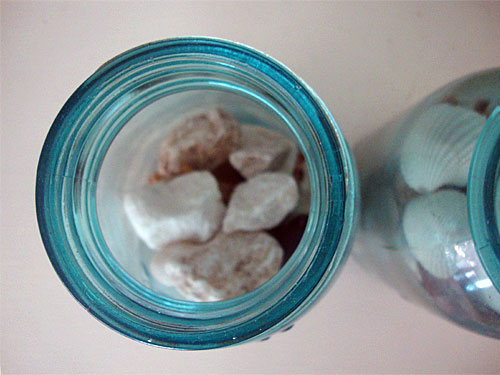
- display objects that give reminders of special memories (ie. seashells, stones, wine corks etc all stored in glass jars)
- incorporate a variety of shaped objects (ie. rectangular books, round bowls, circular globes, unique sculptures, etc)


Styling a bookshelf is always a fun and quick project! Here's one last distance photo of the newly styled bookshelf in the living room....

I hope you have an enjoyable weekend.... I'll be back next week to (hopefully) show you a finished painted and organized hall closet!
Categories:
Bookshelves,
Living Rooms,
My House - Texas,
Organization
Jan 10, 2012
Free Printables: Organization Labels
Now that the holidays are over, guests have said goodbye and decorations have been stored away, I realized there were more things lying around the house than what I started with at the beginning of December.... mostly kid's (tiny) toys. I like to have a designated spot for the kid's toys, especially the tiny toys... it helps me keep the house organized (and limit the number of times I hear "Mommmmmm, where's Darth Vader's head?").
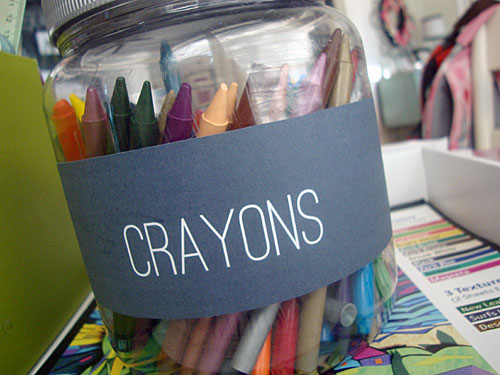
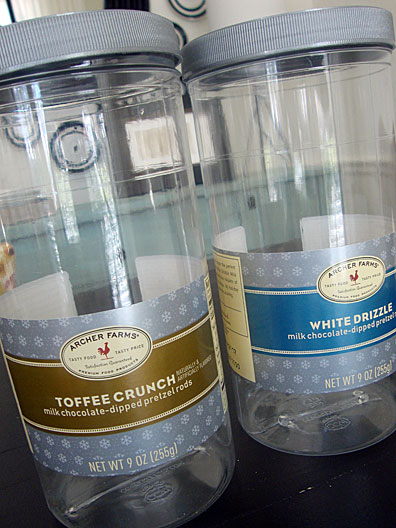
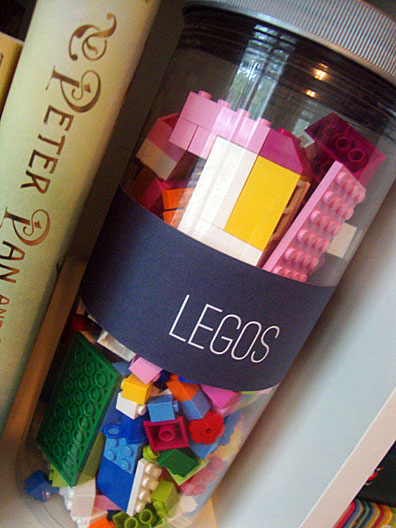
So, after I (uh, I mean "we") ate the last of the holiday sweets, I had a few food containers leftover.... and empty food containers = tiny toy storage (and the need for cute organization labels!).
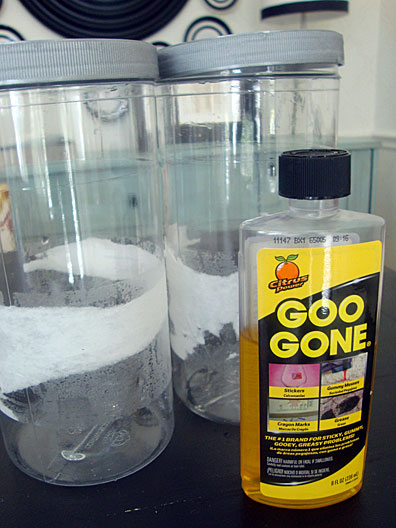
To get these containers toy-storage-ready, I first peeled off the packaging labels (these containers are the Archer Farms brand from Target, like this). Then I used Goo Gone to rub off the leftover paper and stickiness.
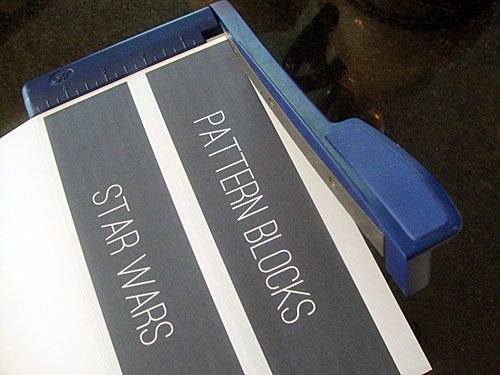
Goo Gone took off all the stickiness (and of course I forgot to take a picture of the super clean, clear containers). After the labels were removed I washed the containers in warm, soapy water and let them dry. While the containers were drying I created and printed labels, then trimmed the edges.....
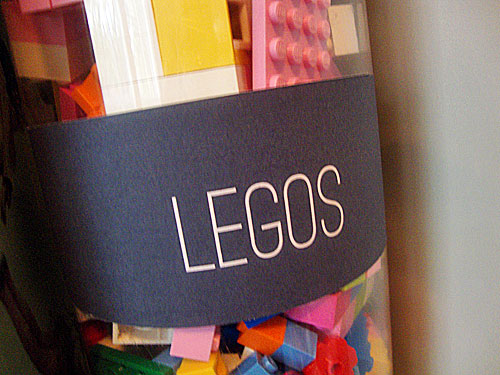
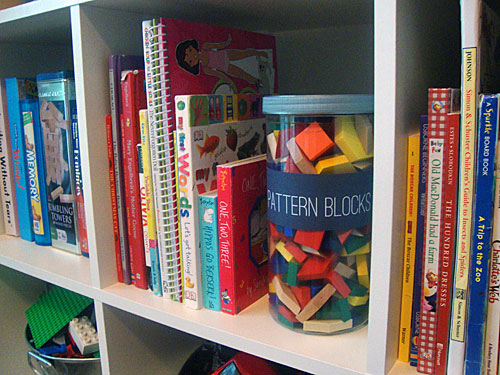
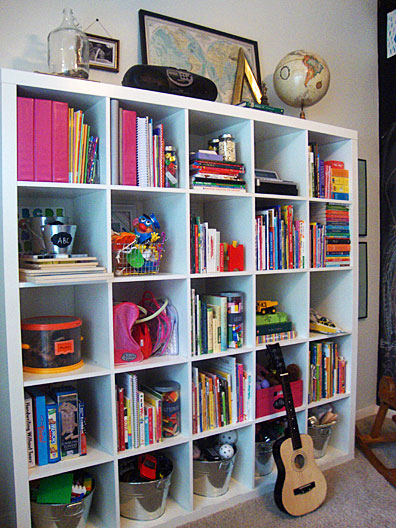
After the labels were trimmed, I sprayed the back of each label with Krylon's spray adhesive and placed the labels onto the containers, then put a few on the shelving unit in the playroom.....
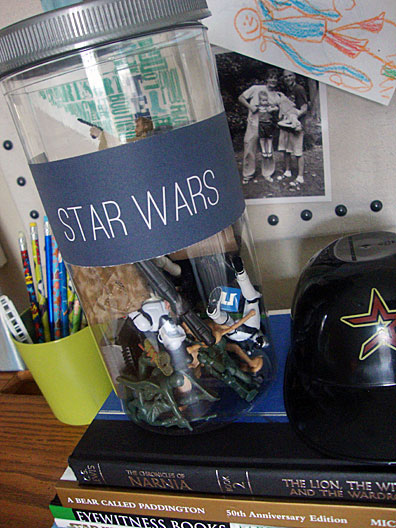
.... and one in my son's bedroom for all his little Star Wars men, especially for Darth Vaders head!
So, after I (uh, I mean "we") ate the last of the holiday sweets, I had a few food containers leftover.... and empty food containers = tiny toy storage (and the need for cute organization labels!).

To get these containers toy-storage-ready, I first peeled off the packaging labels (these containers are the Archer Farms brand from Target, like this). Then I used Goo Gone to rub off the leftover paper and stickiness.


Goo Gone took off all the stickiness (and of course I forgot to take a picture of the super clean, clear containers). After the labels were removed I washed the containers in warm, soapy water and let them dry. While the containers were drying I created and printed labels, then trimmed the edges.....

After the labels were trimmed, I sprayed the back of each label with Krylon's spray adhesive and placed the labels onto the containers, then put a few on the shelving unit in the playroom.....


.... and one in my son's bedroom for all his little Star Wars men, especially for Darth Vaders head!


Here's printable labels for you! Click the link below to download the pdf file and print on 8.5/11" paper (preferably white/cream colored), then trim off the white borders and spray an adhesive to the back and place on a container(s). As a side note, the first few are labeled "Toys" and available in a few colors: black (like mine), orange, gray, green and pink. The last available download is a Word document, so if you're able to open it then you could change the color and/or update the text to be more specific!
Organization Label - Green
Organization Label - Gray
Organization Label - Orange
Organization Label - Black
Organization Label - Pink
Here's the changeable one I mentioned above... the font I used above is Ostrich Sans by Tyler Finck, available here.
Organization Label - Editable
Have fun labeling and organizing!
Organization Label - Green
Organization Label - Gray
Organization Label - Orange
Organization Label - Black
Organization Label - Pink
Here's the changeable one I mentioned above... the font I used above is Ostrich Sans by Tyler Finck, available here.
Organization Label - Editable
Have fun labeling and organizing!
Categories:
Bookshelves,
DIY,
Free Printables,
Kids,
My House - Texas,
Organization,
Playrooms
Jan 3, 2012
Free Printables: 2012 Calendar
We're slowly getting back into our (school) routine after a few weeks of celebrating Christmas, visiting with family, eating delicious food, staying up way too late and relaxing on the couch doing absolutely nothing (so wonderful!).
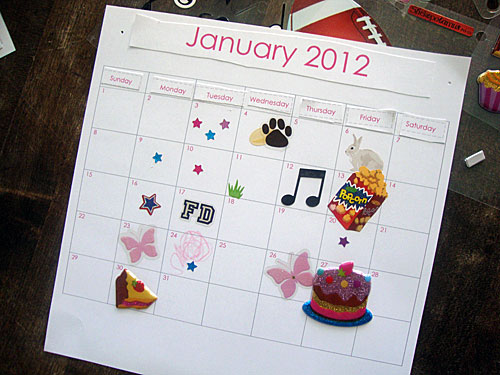
To start the new year and the month of January, the kids and I created a calendar. We do this at the end of each month to prepare for the month ahead (we're a little late this month!). The kids love having their own calendar to decorate and find out some exciting (and sometimes not so exciting) events happening during the month.
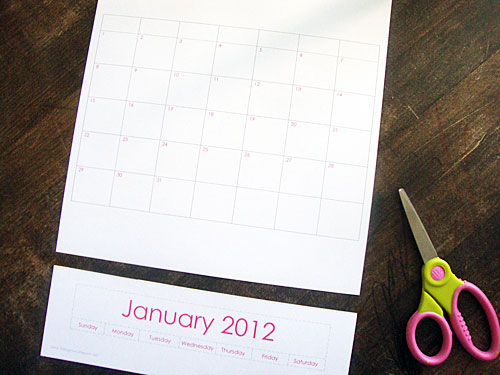
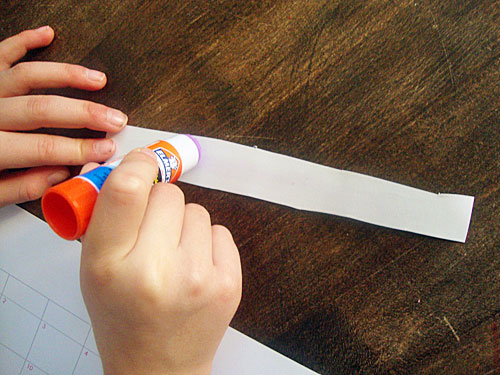
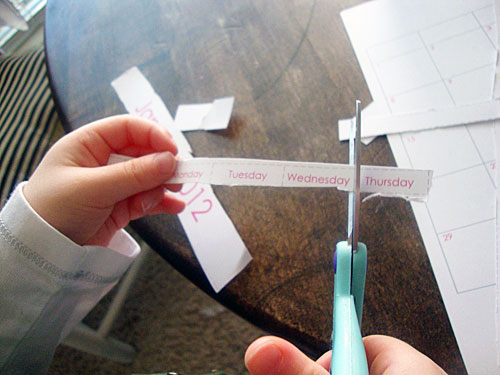
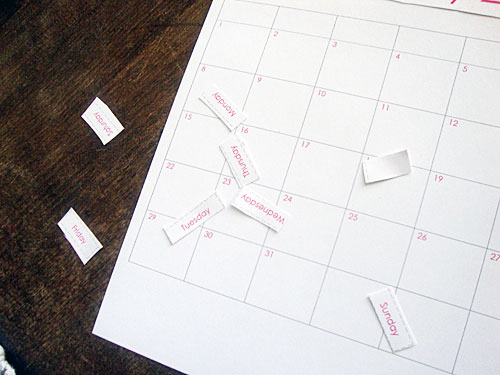
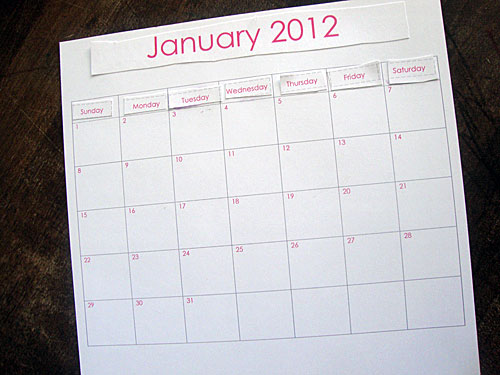
To complete the calendar, the kids use scissors to cut out the month, day and year, then they glue each cut-out to the correct spot on the calendar.


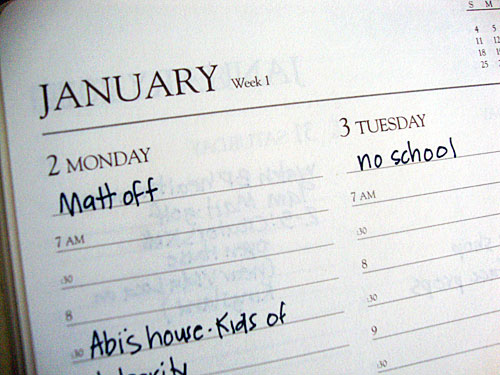
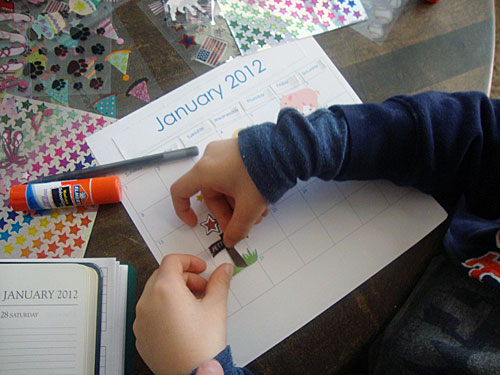
Then comes their favorite part.... stickers and drawing! I get out my calendar and tell them the plans that we have during the month, then they select stickers that relate to the event or draw on the day (sometimes write)....


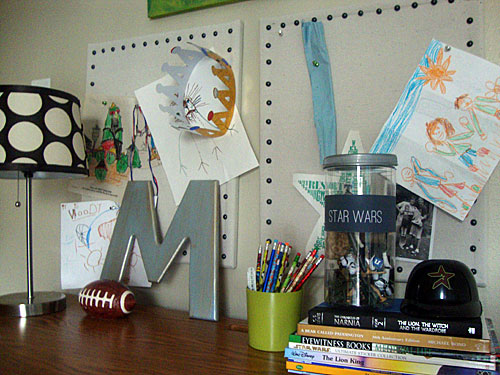
After the calendar is completed, we string yarn through punched holes at the top and hang two in the girl's bedroom and one in my son's room on his nailhead bulletin board). Then each day, we designate a certain time to go over the calendar.... it prompts us to talk about the days of the week, months of the year, practice counting from 1-30, grasp the concept of yesterday, today, tomorrow, and even more.
On a side note, we're big on putting memorization to song.... it really helps my kids (and me) retain the information we're learning. For example, when we say the months of the year we sing it to the tune of "Ten Little Indians", for the days of the week I made up a silly little tune and even my two year old can sing them (even if the pronunciation isn't exactly on target). Songs are like magic!


To start the new year and the month of January, the kids and I created a calendar. We do this at the end of each month to prepare for the month ahead (we're a little late this month!). The kids love having their own calendar to decorate and find out some exciting (and sometimes not so exciting) events happening during the month.
To complete the calendar, the kids use scissors to cut out the month, day and year, then they glue each cut-out to the correct spot on the calendar.


Then comes their favorite part.... stickers and drawing! I get out my calendar and tell them the plans that we have during the month, then they select stickers that relate to the event or draw on the day (sometimes write)....


On a side note, we're big on putting memorization to song.... it really helps my kids (and me) retain the information we're learning. For example, when we say the months of the year we sing it to the tune of "Ten Little Indians", for the days of the week I made up a silly little tune and even my two year old can sing them (even if the pronunciation isn't exactly on target). Songs are like magic!


Here's a free printable calendar for you.... with an option to print in either pink or blue. As always, my printables are available for personal use from me to you, for FREE! So, go ahead.... download, print, or just pass along the link... enjoy!!!
Click the arrow above to download the pdf file or click the printer icon above to print. Print on 8.5/11" paper (preferably white/cream colored card-stock), then trim along the bottom of the calendar and have the kids cut out the month and days of the week to glue and decorate the calendar. Have fun!
Categories:
Free Printables,
Homeschooling,
Kids,
Organization
Subscribe to:
Posts (Atom)