Mar 31, 2011

Gift Wrap a Frame: The Tutorial

Yesterday I showed the new wall art flanking the shelving unit in the playroom... well, the art is not exactly new but it's gift wrapped!  Does that count?


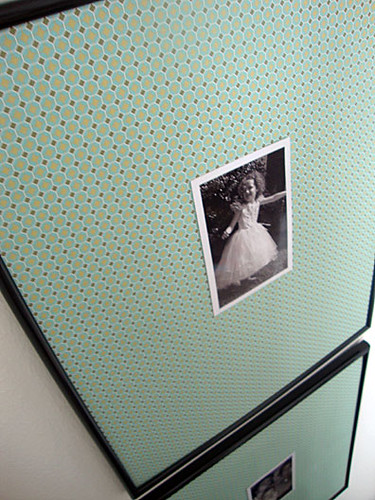
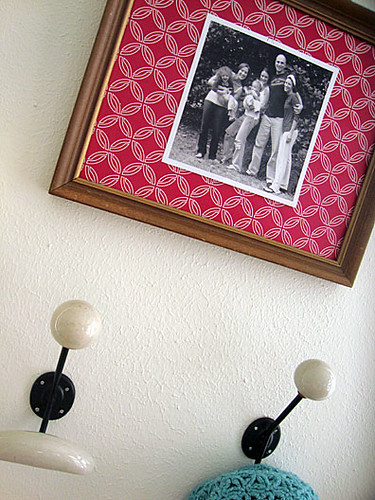
I wrapped the frame backing with gift wrap from Paper-Source and today I'm going to show you how I achieved the look... it's really just like wrapping a present.  So easy... grab your supplies and follow along with me!!!
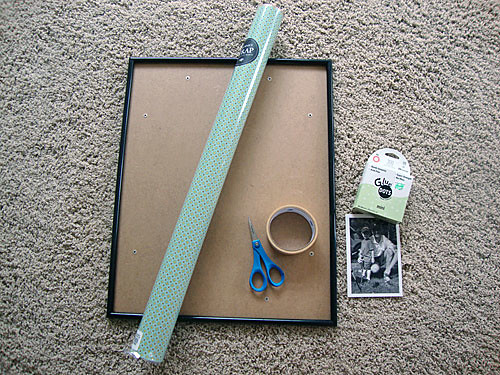
  • frame(s)
  • gift wrap (or even kraft paper, fabric, wallpaper, scrapbook paper, decorative paper, a map, newspaper, magazine or book tear-outs)
  • scissors
  • tape or glue suitable for paper
  • photo, artwork, etc

Supplies

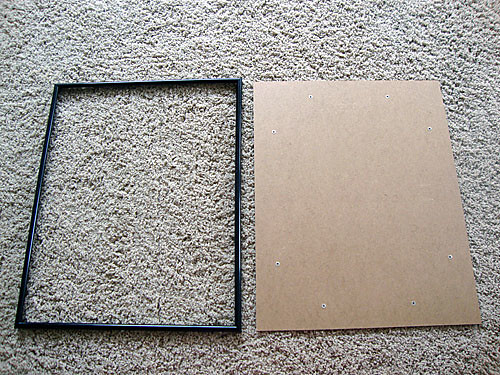
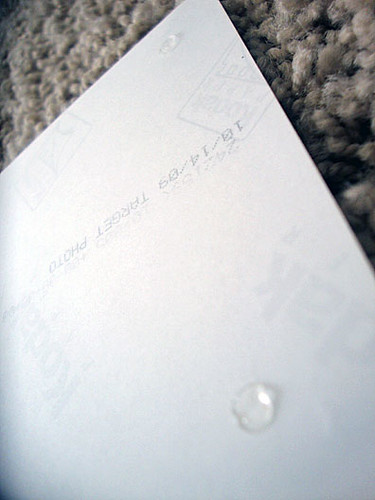
1  Open the frame and remove the backing.
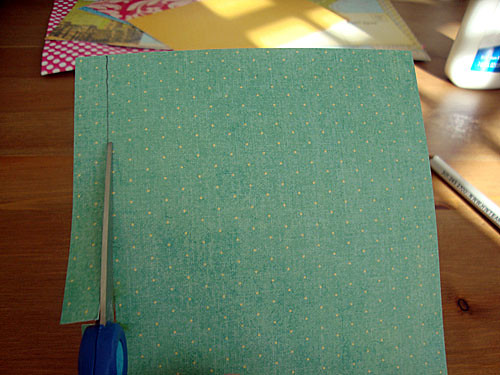
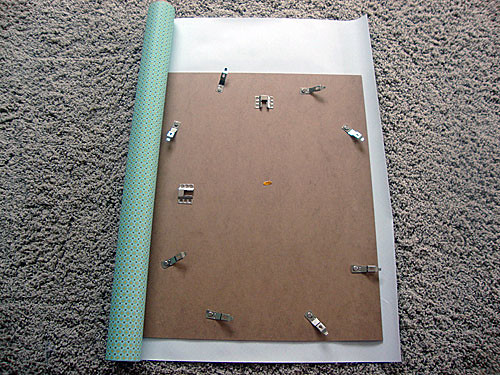
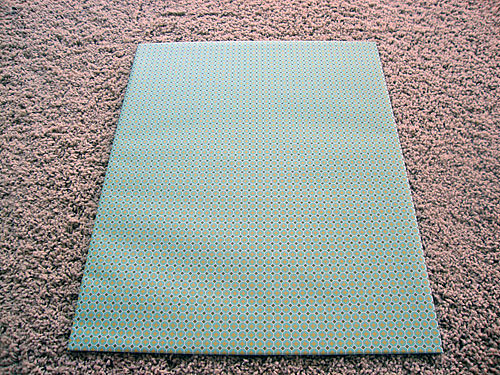
2  Unroll the gift wrap and place the frame backing front-side down on top of the gift wrap.
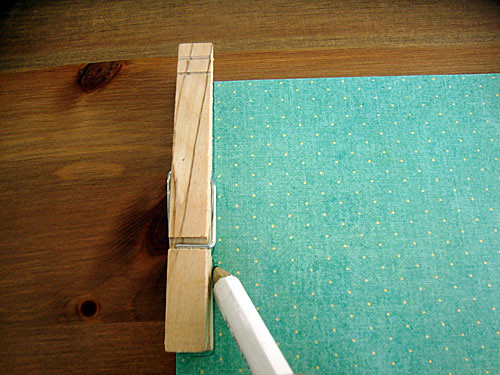
3  Cut the gift wrap leaving a 2" border around the frame backing.  Note: before a cut is made, check the gift wrap to make sure the design is straight and/or positioned in the area you'd like to frame.
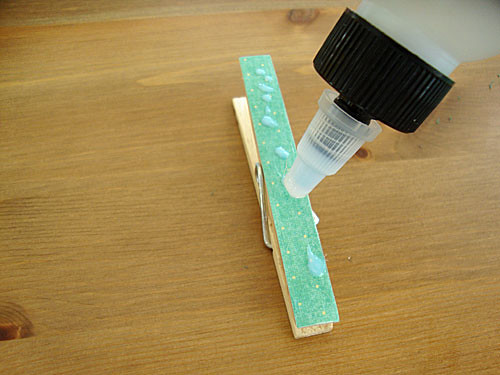
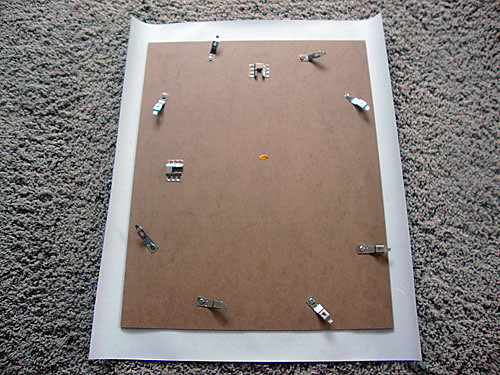
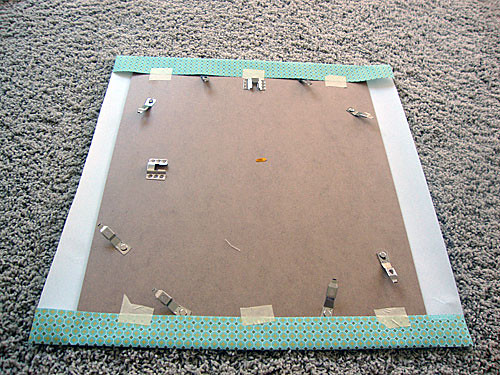
4  Fold the edges of the gift wrap over the frame backing along one edge and tape to secure (I used masking tape)....
5  Repeat step 4 on the opposite side.

Supplies

Supplies

Supplies

Supplies

Supplies

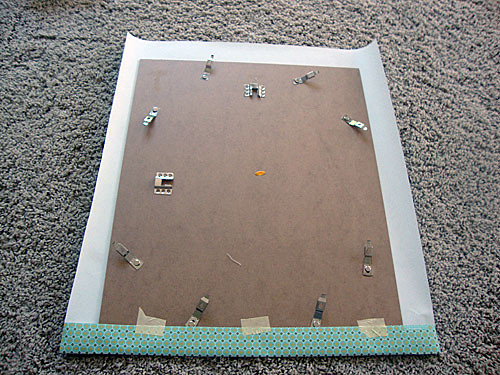
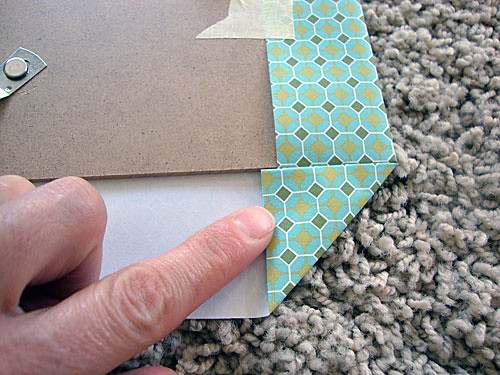
5  Fold all the corners over, one at a time.
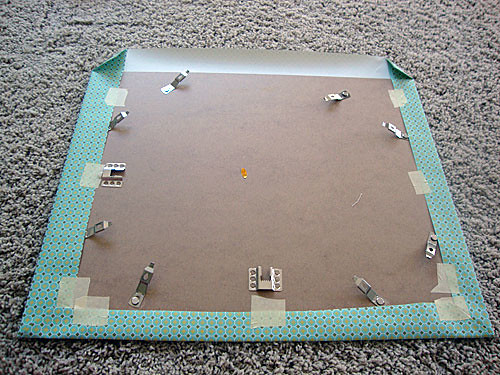
6  Fold the entire edge onto the frame backing and tape to secure.
7  Repeat step 6 on the opposite side; all sides should now be taped to the frame backing.

Supplies

Supplies

Supplies

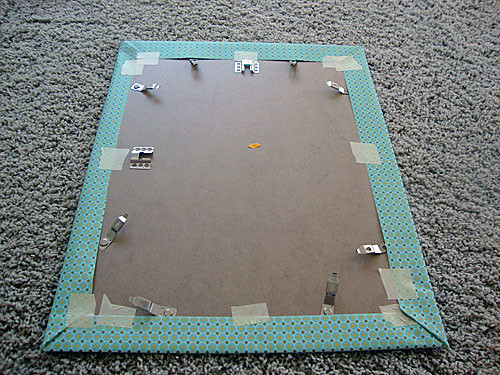
9  Turn the frame backing over, front side up.
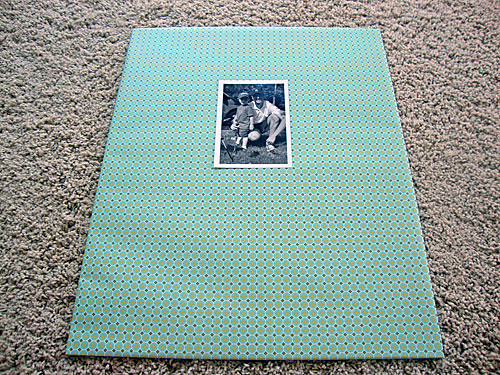
10  Take the photo, artwork, etc (whatever you will be framing); turn it over and place tape or glue on the back corners corners (I used Glue Dots).
11  Secure the photo, art work, etc, to the gift wrap (I top-centered my photo, but it could be positioned anywhere on the gift wrap).
12  Insert the frame backing into the frame and secure, admire your work and hang it up!

Supplies

Supplies

Supplies

Supplies 

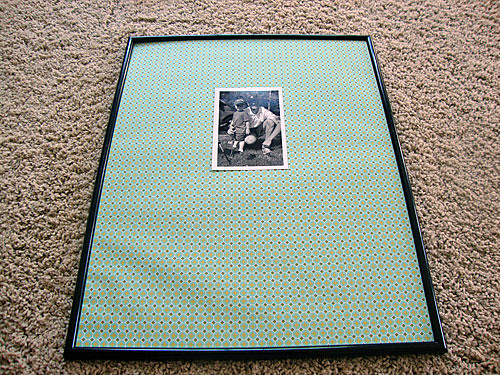
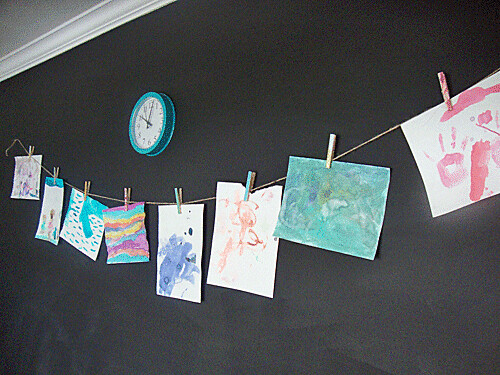
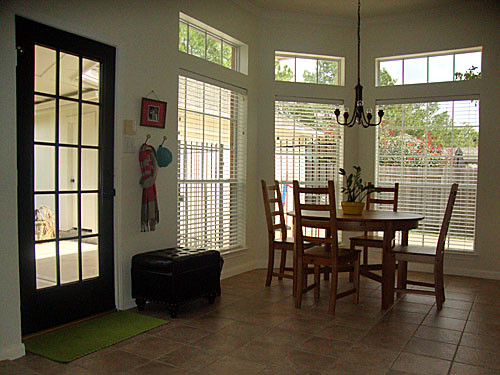
And just for kicks... here's a before and after photo of the wall art... from white to bluish-green... great punch of color!


If you decide to wrap your frames, email me photos, I'd love to see your new design!!!

Mar 30, 2011

Gift Wrap a Frame

I've been working on the kid's playroom over the past few weeks... painting, creating a chalkboard wall, adding a shelving unit, adjusting an activity table, and displaying the kid's artwork.  Now that the big things are out of the way, I'll be doing a few small projects to bring this room together so it'll be complete and ready for the kids.

The first small project is to change up the frames a little.  There are four frames that flank the shelving unit full of toys.  The frames came without a mat or glass, but that's ok because my mom bought them for only a few pennies!


When I have a frame that doesn't have a mat (or I just want to change it up and add color), I use things like kraft paper (seen here), fabric, wallpaper, scrapbook paper, large decorative paper, maps, newspapers, and even gift wrap.  I have found amazing designs and colors everywhere from Target to Etsy.

For the frames in the playroom, I decided to use wrapping paper from Paper Source, the print is called Flora and Fauna Tiny Print Pool.  Here are the frames this time around with a little more color...


The design on the paper is a little more noticeable in person than online... it's a geometric pattern designed with the colors white, pool blue and a mossy green.


With the colors combined, the paper gives off a greenish/blue color, which I love considering it's one of the main colors in our house, and it matches the map framed on top of the Expedit bookcase (if your curious, that map is gift wrap also from Paper Source).

Such an easy update for a frame... I'll post a tutorial tomorrow.  So, go dig out some kraft paper, fabric, wallpaper, scrapbook paper, large decorative paper, a map, newspaper or gift wrap and follow along with me tomorrow!!!

Mar 29, 2011

Free Printables: Striped Placemat

I was walking through the clearance aisle at Home Goods the other day and picked up a beautiful, oval-shaped, white and green striped, ceramic platter.  Then I turned it over to see the price (remember, this is the clearance aisle) and it was $19.  Boo... not what I wanted to see.  So, I put it back down.

The design on the platter was awesome, perfect for spring time and so simple that I loved it, but the price tag was disappointing.  Then I had an idea... placemats!  The kids went down for rest time and I went to the computer and created some green and white stripes, then emailed them off to a local copy center to be printed and laminated.  Now I have striped placemats, for much less than $19.


 And, here's a printable placemat for you... for FREE!  So go ahead.... download, print, give as a gift (Easter is just around the corner -- perfect for kids), or just pass along the link... enjoy!

Striped Placemat

Click the link above to download the pdf file and print on 11x17 paper (you may need to download and email the file to a copy center - like FedEx, Staples or Office Max - if your printer does not feed this size paper).  Print on white/cream colored card-stock, then laminate and trim the edges.

Happy Spring!!!

Mar 28, 2011

Fireplace Make-Over

I love a good before and after photo (like here and here)... so, I'm taking you back to our house in Virginia again (since I'm working on a few painting projects over here today).  This was the way our fireplace looked when we purchased the house... it must have gotten A LOT of use (look at all that soot on the corners).

Before...


 And, after (just the way it was right before we moved to Texas, Halloween pumpkins and all)...


That fireplace got a good coat of primer and paint, that's all (you can ignore the child-proof padding around the fireplace edges).  This was a quick and really easy update!  If your fireplace resembles our fireplace in the "before" photo and you're contemplating giving it a bright (and cheap) make-over, John and Sherry from Young House Love have an awesome tutorial on painting a brick fireplace.

Looking at these photos brings back so many memories... good times in Virginia, bright and lively (just like the photo).

Mar 25, 2011

Birthday Weekend

We have a birthday fast approaching in our house (free printable birthday invite here).  We're so excited to celebrate with our little cowboy and to celebrate we'll be eating a homemade cowboy cake.  This cake is my inspiration...


IM-PRESS-IVE!!!  Can you believe that is a cake?  I love it and I'm sure it's yum-meee.  As much as I'd love to present this cake (and spend hours in the kitchen with a frosting tube), I will attempt a much, much simpler version... cupcakes.

I''ll be wrapping chocolate cupcakes with a red bandana wrapper from Olivia's Paper Shoppe...


And adding a cowboy topper, from Where the Green Grass Grows, to each chocolate frosted cupcake...


Absolutely adorable! 

Hope you all have an amazing weekend!!!

Mar 24, 2011

Colorful Clothespins: The Tutorial

Yesterday, I posted the new art display using twine and clothespins.  After I looked at the plain, wooden clothespins clipped to the twine, I decided to go the extra step and make the clothespins a little more colorful.


The kids and I sat down to get crafty for about 20 minutes... they made jewelry using pipe cleaners and pom-poms, while I sat with a stack of wooden clothespins and slowly added color to our art display...


For this project, you'll need wooden clothespins, scrapbook paper, a pencil, scissors, and glue (I used Artquest's Perfect Paper Adhesive, but I think Elmers glue would work just as good).  Lay a clothespin on the paper and trace the edges to make an outline...


Then cut along the pencil marks and you should have a paper the size of a clothespin...


Turn over the paper and squeeze glue along the entire backside of the paper (don't be shy, the more the better)...


Then place the paper on top of the clothespin, glue side down. Get out the glue again and squeeze more glue along the top side of the paper...


Rub the glue along the top and sides of the paper with your finger to blend it in....


Then pinch the sides and ends of the paper/clothespin to squeeze the paper/glue/clothespin together.  Pinch until the paper sides are completely stuck to the clothespin (it's ok to have glue oozing on to the sides, just smooth it out with your finger and the edges of the paper will stick to the clothespin)...


And, here's the new clothespins holding up our artwork in the playoom...


If you'd rather have them arrive in your mailbox already made, you can buy something like these from The Papered Crown on Etsy....

Mar 23, 2011

Creating an Art Display

We do a lot of artwork over here... everything from coloring and play-doh to finger-painting and acrylics.  I love to display the kid's artwork around the house... when I see their art hanging on the wall, there's a memory with it (usually a good one) and the kids get a huge satisfaction in seeing their artwork tacked, clipped, framed or posted anywhere in the house.

Yesterday, the kids painted with watercolors (which I absolutely love because the clean-up requires only water and a cloth) and we decided to display the work in the playroom.  The upper chalkboard wall was the perfect area... the wall needed a little color and the kid's artwork (and a clock) would be perfect!


To hold our display I used two upholstery nailheads (thumbtacks work too), twine and closepins...


I measured the amount of twine needed to span across the display area (I allowed extra for hanging artwork), then I cut the twine to fit the measurement.  I pushed the nailhead thru the middle of the twine on one end (I like to leave a little overhang) and then pushed the nail into the wall...


I then draped the twine across the wall and followed the steps above for the other side, it looked like this...


Oooh, that mess needs to be organized (I'll get to that next week).  Anyway, back to the display... I added clothespins across the twine and clipped on the artwork (you could even add a few cute things... like a small bag, little stuffed animal, cut-out projects, flash cards, etc)....


And, voila... art displayed!  I only took a picture of the upper wall to focus on the colorful artwork (and so you wouldn't see the mess on the floor again -- I have a plan for that hidden mess below and hope to post the solution soon!).

Mar 22, 2011

The Mini-Mudroom

The kids and I were painting all morning yesterday... they were painting with watercolors for an art display we're creating in the playroom (more on that tomorrow!) while I was painting our back door that opens into the kitchen.


I decided to paint the back door the color black to enhance our mini-mudroom, I mean our mini-mini-mudroom (by the way, that shirt makes me look kinda pregnant, so before anyone asks... no, I'm not prego).  I'm making a mudroom out of nothing because I desperately NEED a place to dump my stuff (kid stuff) when we walk in the back door.  The back door is really our main entrance... we use it to get to the garage, the driveway and the backyard.

Here's a before full-view of the back door leading into the kitchen area...


And, here's the freshly painted black door (with the Craigslist table and chair project that is waiting for me)... so much contrast, I LOVE it!


Now, don't laugh.... see that teeny-tiny wall space to the right of the black door?  That's what I'm calling our mudroom.  I added a frame for good memories, two hooks for coats, hats, purses, etc, and a much needed storage bench for shoes (remember, we live in TX so hopefully I won't need all the winter gear -- hugs to all my Northern readers, I don't know how you do it!).


I'm planning on giving the storage bench a little makeover.  I think the fake leather looks... well, too fake.  I'm thinking of adding extra padding over the tufted top and covering it with a black/cream ticking striped fabric that I have in my fabric stash... looks like this...

Black and White Ticking Fabric

I'll keep you posted on the mini-mini-mudroom progress.... it should be a speedy makeover since it's such a small space in the kitchen.

Psst, the rest of the kitchen progress is here.
Related Posts Plugin for WordPress, Blogger...