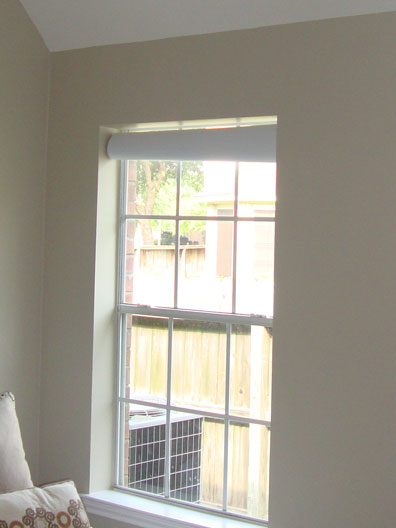
But this? Yes, a little more stylish (the green part...)...
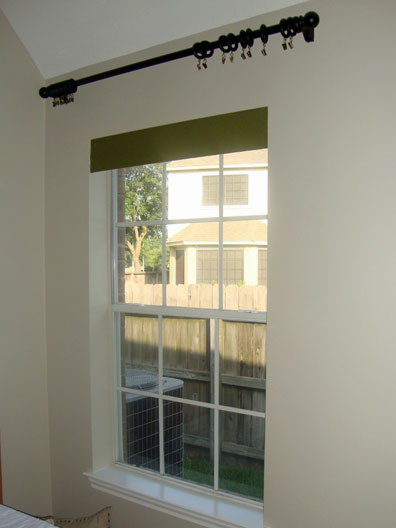
I added a fabric-covered-board to hide the roller shade. We need the shade to keep the room dark at night, but I want to be able to roll it up and not have to look at it during the day. So, I cut a wooden board to fit inside the window, then covered the board with the curtain fabric, Lexington Olive.
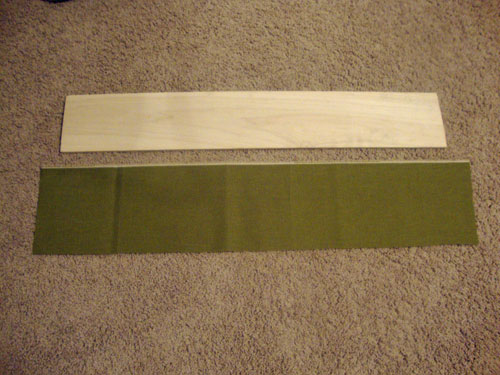
This is the board I purchased from a home improvement store... it only needed a minor trim on one end to fit inside the window...

Once the board was cut to size, I cut a piece of the curtain fabric to cover the board.... about one inch longer than each side of the board.
Then I turned the fabric right-side down and placed the board on top of the fabric, folded over one edge and stapled the fabric to the board. I started stapling in the middle and worked toward the ends...
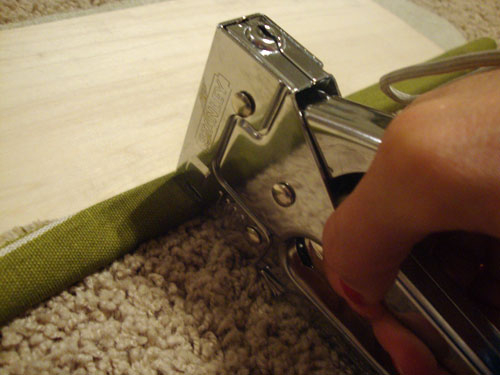


Then I stapled the opposite side, pulling tight as I moved from the middle to the ends...
Next, I folded over the corners (just like wrapping a present), pulled it tight and stapled again...
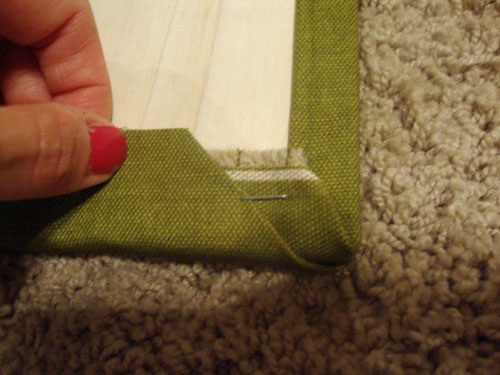
The fabric is now stapled all around the board!!! If you're working on this project and you turn the board over and the fabric is gaped or not wrapped tight enough, no big deal.... turn the board over again, pull out a few staples and staple again).....
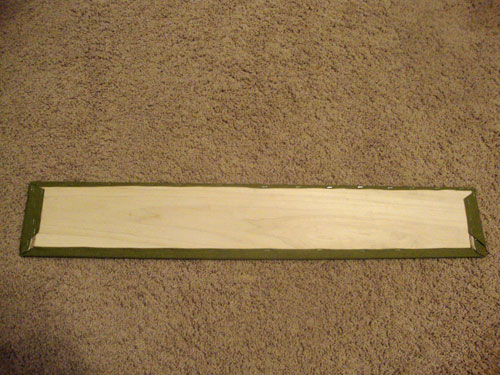
Since this board is going to be mounted inside the window (side of the house for me), I wanted to make the back look pretty from the outside (and so my HOA wouldn't drive by and see a board hanging from the window.... I'd probably get fined). So on to the next step...
I cut a piece of white fabric a half inch longer on all sides than the board...

I could have glued the white fabric to the board, but I decided to staple it with my staple gun (feels more secure to me). I wanted the staples to blend in with the fabric, so I went outside and spray-painted them white...
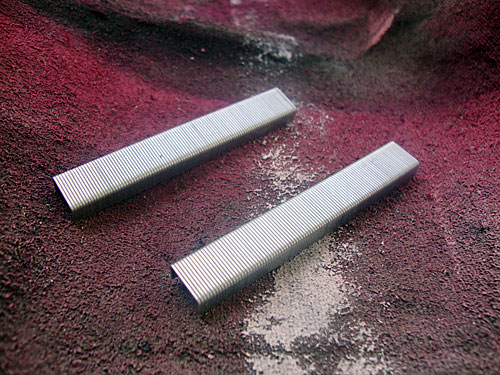
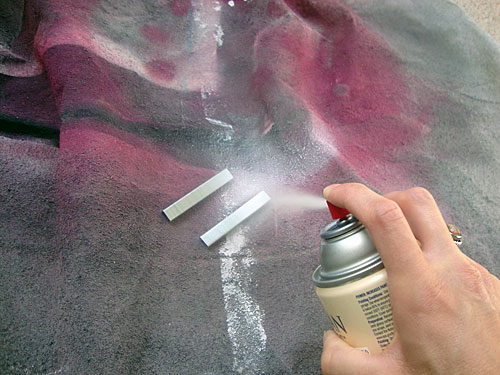
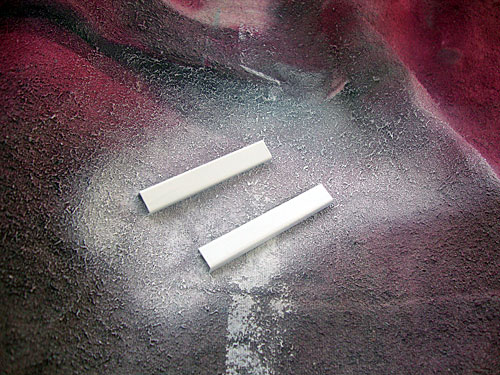
After the paint was dry, I took them inside and began stapling. I placed the white fabric on the back of the board and folded a half inch of fabric under on all sides as I moved along to staple each corner.
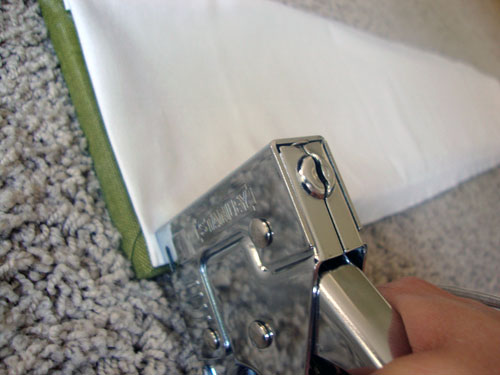


Once all the corners were stapled, I went back and stapled along all the edges... the backside of the board eventually looked like this...

And the white staples blend in, for the most part...
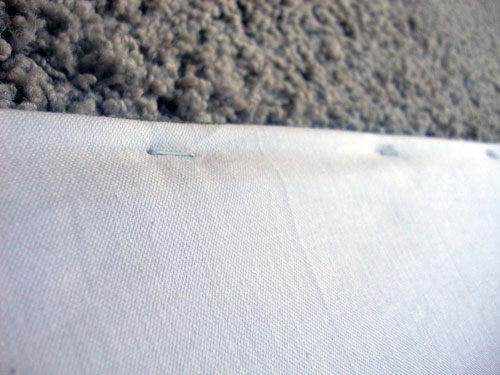
I turned the board over and it looked like this...

Then I mounted the board inside the window frame using L brackets...

Much better, much more stylish. The roller shade is still there.... just hiding!
And this is what is looks like from the outside window... that's the roller shade and the fabric-covered-board....
Pretty good... all white so there shouldn't by any fines coming my way :).
Linking up to Tip Junkie and Hope Studios.


This is brilliant. Thanks for the great idea!
ReplyDeleteWow, great post. Thanks for sharing this. Room Darkening Roller Shade
ReplyDeleteGreat post about Roller Shades. I found your post when i find information about roller shades. Thanks for sharing valuable post. Thanks
ReplyDeleteBrilliant, so clearly set out, and such a neat result, clever you! You make it look easy, but hmmm let's see....
ReplyDeleteLibbie Grove Design: Hide A Roller Shade >>>>> Download Now
ReplyDelete>>>>> Download Full
Libbie Grove Design: Hide A Roller Shade >>>>> Download LINK
>>>>> Download Now
Libbie Grove Design: Hide A Roller Shade >>>>> Download Full
>>>>> Download LINK M6
fear of god
ReplyDeletesupreme hoodie
kd 14
goyard
bape
fear of god essentials hoodie
hermes
yeezy 700
bape outlet
kyrie 8
Your writing style has been amazed me.
ReplyDeleteThank you, very great article.
ReplyDeleteI am a new user of this site so here i saw multiple articles and posts posted by this site,
ReplyDeleteHope you will give more information on this topics in your next articles.
ReplyDeleteGood to be going to your blog once more, it has been months for me.
ReplyDeletehcujv784kkz
ReplyDeletegolden goose outlet
golden goose outlet
golden goose outlet
supreme outlet
golden goose outlet
golden goose outlet
golden goose outlet
golden goose outlet
golden goose outlet
golden goose outlet