I bought a huge bag of cherries at the grocery store last week.... and I mean HUGE. I love this time of year and the abundance of fresh fruit, so when I see new fruit in season at the farmers market or grocery store, I buy in excess. And I definitely bought lots of juicy, plump cherries..... yum............
So, besides eating these cherries straight from the bowl, I'm searching for a few new recipes using fresh cherries. If I had a perfect-cherry-filled-day, here's what I'd be making (and eating)... and yes, I'm starting out the day with a breakfast-dessert!
Breakfast: Toasty Almond Cherry Turnovers
Lunch: Cherry-Arugula Salad with Almonds and Tarragon
Snack: Cherry Orange Oatmeal Bars
Dinner: Chicken Cutlets with Fresh Cherry Salsa
What's your favorite cherry recipe?
May 31, 2011
May 30, 2011
Best Garage Sale Find. Ever.
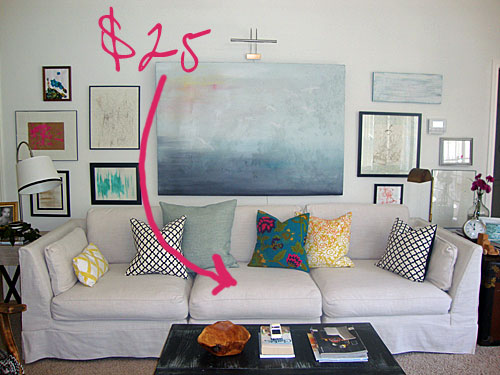
I thought I'd use today to tell you about my greatest garage sale find. Ever!!! I purchased the couch that's in my living room right after I graduated from college (over 10 yrs ago) and I don't think I'll ever part with it. Seriously, it's the best couch, ever! It consists of three large, boxy pieces (each 3ft x 3ft) and together they make one long couch.... perfect for my 6' 3" husband to spread out and deep enough for us to relax side-by side. And, the best part? It was only $25.
Yes, $25! When I first saw the couch, it was jammed packed between large pieces of old furniture that were surrounded by tons and tons of tiny treasures (treasures to me, probably junk to the sellers). I think the horrific peach and mint green swirly colors were what caught my eye (wishing I had a before picture).... I eventually squeezed through all the furniture to take a seat on the outdated couch. Comfy!!! How much? $50? Hmmm, how about $25? Score!!! It was mine!!!
It's been recovered three times since then, twice by me and finally (thank you husband) by a professional. I purchased fabric for a total of $100 the first time I recovered the entire peach and mint green print. It actually looked pretty good and lasted for about seven years, then we had babies and lots of spillage and the couch didn't look so pretty anymore. So, I recovered it again... or I should say attempted... trying to recover a couch with two kids (at the time) wasn't working.... I only made it half way through. Our couch probably look a little ridiculous to guests for about two years.
Then for an early 30th birthday gift the husband said I could replace our couch. We searched for a new couch online and in stores, but couldn't find anything that we liked better than our $25 couch. So, I hired a professional upholsterer to make the couch pretty. The cost to reupholster was more than $25, but after having the couch for over ten years, it was worth the cost.
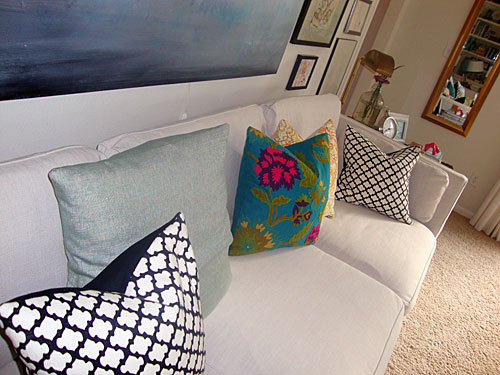
I decided on a slip cover for easy washing (cause I know more spillage is gonna happen). You're probably thinking I'm crazy for choosing a creamy-white colored fabric, but I love it. Throw it in the wash and everything comes right out.
This is our perfect couch and my best garage sale find... ever! Hope your enjoying a GREAT Memorial Day!!!
Linking up to Centsational Girl.
May 27, 2011
Boys Room Big Reveal
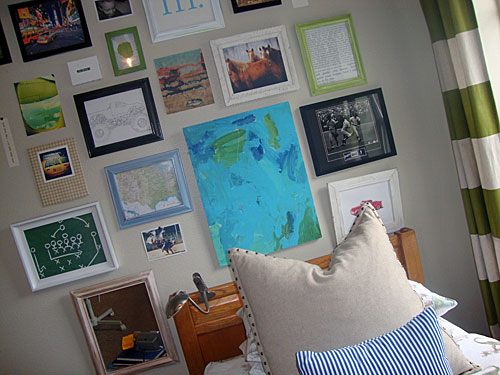
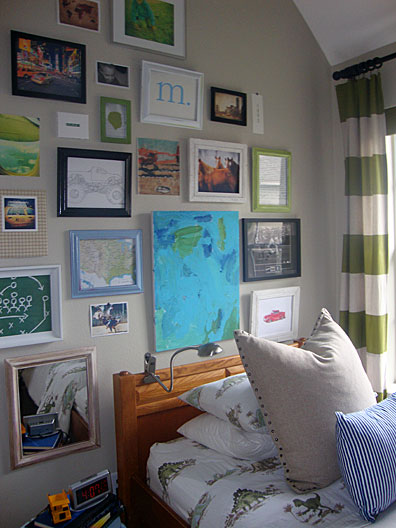
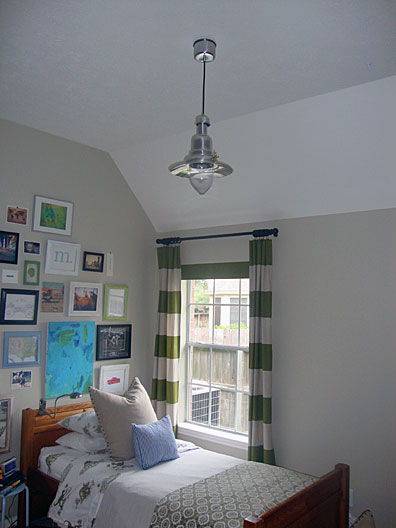
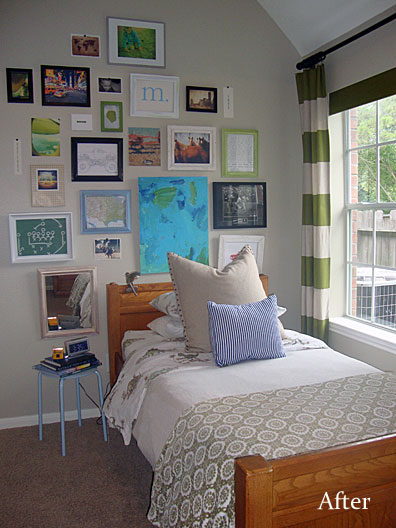
It's done, it's done, it's done!!! I have finished decorating the first room in our house.... my 4-year old's bedroom. I incorporated a lot of what we had from from our previous house in VA, purchased a few things and made just about everything else in the room. He loves it (and so do I)...
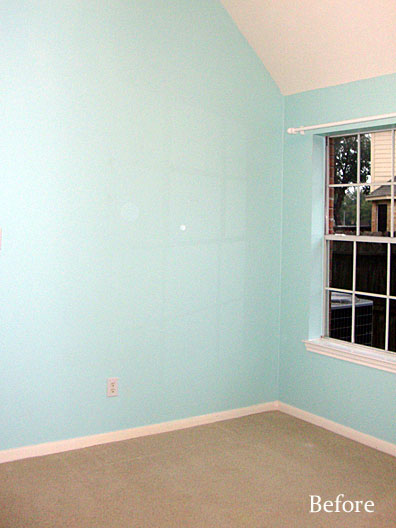
When we purchased the house, the room was originally painted in a turquoise-y color, my son was NOT a fan....
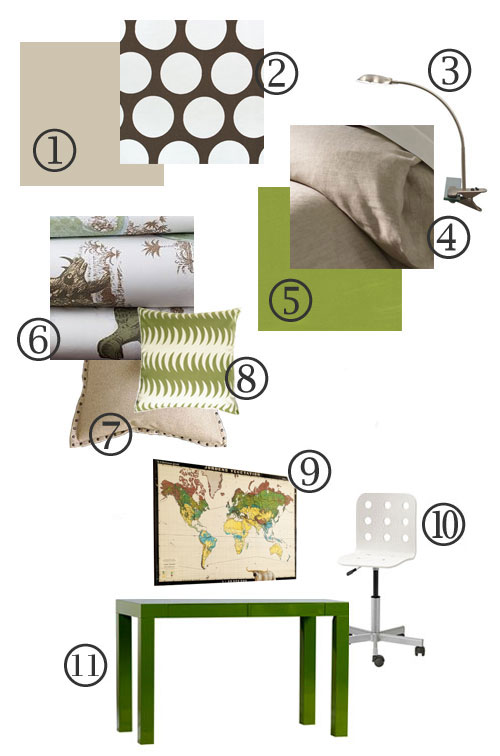
To start the decorating, I searched for inspiration and fabric, then I created a mood board. For the most part, I followed the mood board, but sometimes when I'm decorating, spontaneous finds or creative thoughts change the room for the better. My goal was to personalize my son's room to reflect his interests, make it comfy, and most importantly keep from spending a fortune. This was the mood board...
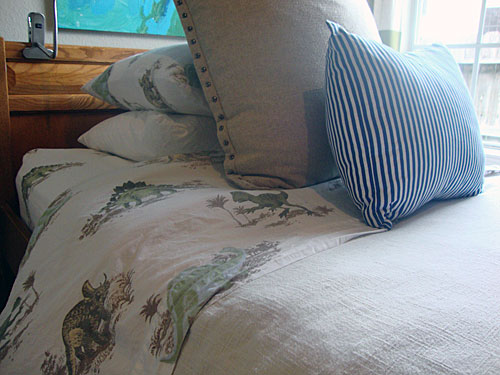
As soon as I came across those dinosaur sheets, the rest of the room design fell into place.... I couldn't wait to style the room. The room was painted Grant Beige, I ordered the dinosaur sheets, made a duvet cover out of linen fabric (purchased at an amazing price), and made the striped pillow from sheets found at Target. The nailhead-trimmed pillow and the geometric-patterned throw were being stored in my hall closet and I thought this was the perfect room to make them part of the bedding...
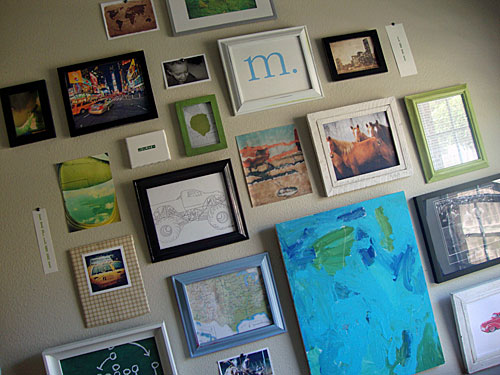
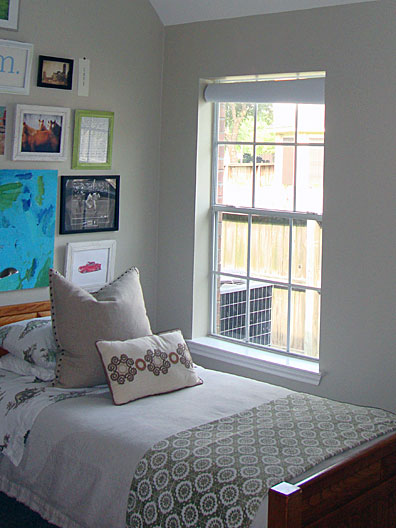
Above the bed, I created a gallery wall and I couldn't be happier.... I love the eclectic look (more on arranging the photos here and more gallery pictures here).
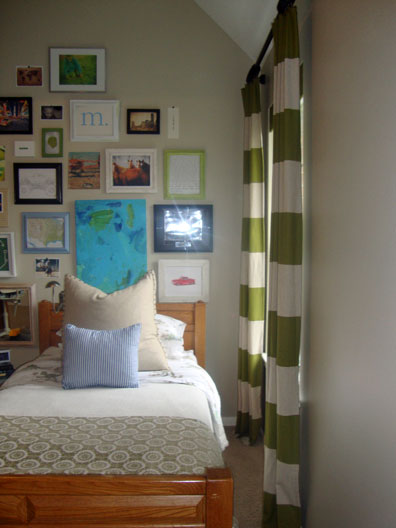
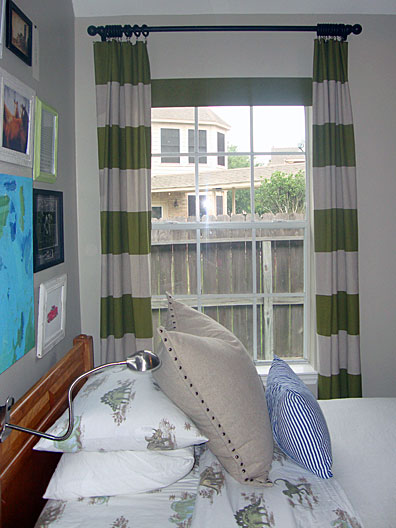
The curtain fabric is called Lexington Olive, from Tonic Living. I was so excited when it arrived, I sewed two floor-to-ceiling curtain panels to help give some color to the window side of the room. To darken the room for sleepy-time, there's a hidden roller shade behind the fabric covered board, created here. I love the horizontal stripes on the curtains...
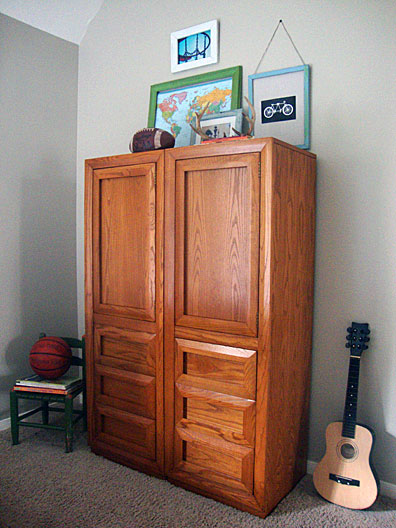
For the furniture, I decided to use pieces that were handed down to me from my brother.... it was his furniture growing up, so I kept it 'as is' (just in case he wants it back one day).
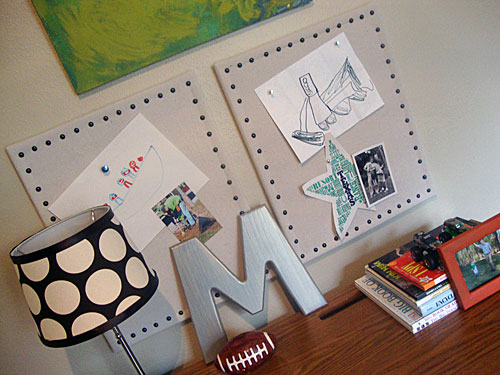
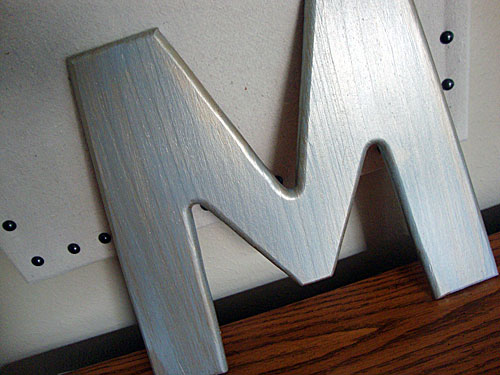
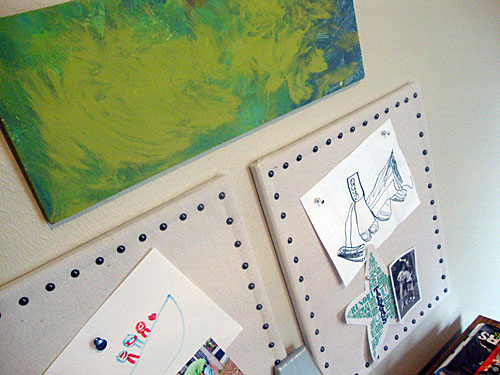
I debated for a while about refinishing the desk to keep the furniture from looking too matchy-matchy (as seen on the mood board), but in the end I kept it the same. To add some interest to the desk area, I changed up a few things we had around the house.... I covered bulletin boards with drop cloths and nailheads, recovered the lamp shade in a large scale polka dot, and added a metallic-look to the letter M.
For the lighting, I swapped out a boob light for a hanging light.... the Ottava from Ikea. This was my first electrical job and I'm no experienced pro, but I am looking forward to my next light hanging project! I love this look.... I think it's kinda unexpected...
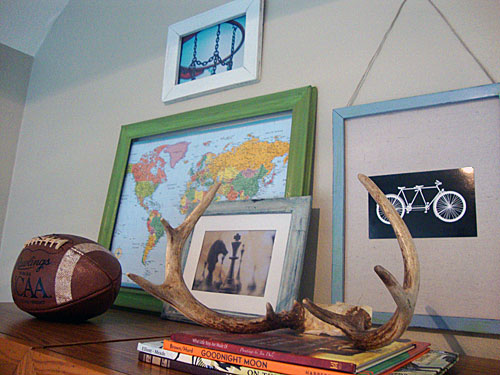
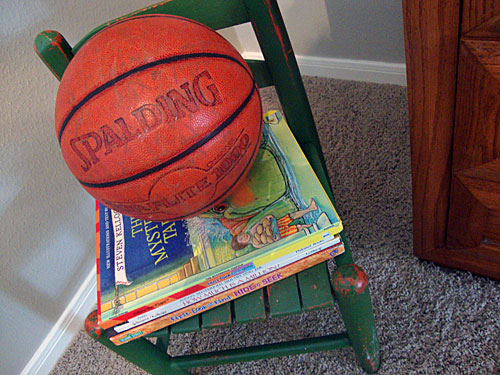
And here's a few more extras in the room....
And most importantly, the before and after shot...
And one last wide view....
For those interested, here's the sourcing info:
Wall Paint: Benjamin Moore Grant Beige
Sheets: Pottery Barn Kids Dinosaur Sheeting
Linen Duvet Cover: Fabric from Joann Fabrics
Geometric Throw: Home Goods
Striped Pillow: Fabric, Circo sheets from Target
Studded Pillow: West Elm
Curtains: Fabric, Lexington Olive from Tonic Living
Blue Nightstand/Stool: Marius from Ikea
Hanging Light Fixture: Ottava from Ikea
Lamp: Clip Led Lamp from Target
Lamp Shade: Fabric, Dandie Cotton Chocolate/Linen from Buy Fabrics
Bulletin Boards: The Board Dudes from Target
Bulletin Board Fabric: Canvas Drop Cloths from Home Depot
Bulletin Board Nailheads: Black High Dome Upholstery Nails from DIY Upholstery Supply
Horse Print: Pioneer Woman
Everything else: hand-me-downs, garage sales, 2nd hand stores, and handmade...
Hope you have a great weekend!!!
Linking up to Remodelaholic, It's A Hodge Podge Life, Simple Home Life, House of Hepworths, Fingerprints on the Fridge, Between Naps on the Porch, Thrifty Decor Chick, Somewhat Simple, Chic On A Shoestring Decorating, I Heart Naptime, The Shabby Chic Cottage, Funky Junk Interiors, Sumo's Sweet Stuff and Brooklyn Limestone.
Categories:
Bedrooms - Boys,
Kids,
Lighting,
My House - Texas,
Paint,
Paint Colors,
Wall Art,
Window Treatments
May 26, 2011
Art on the Mantel
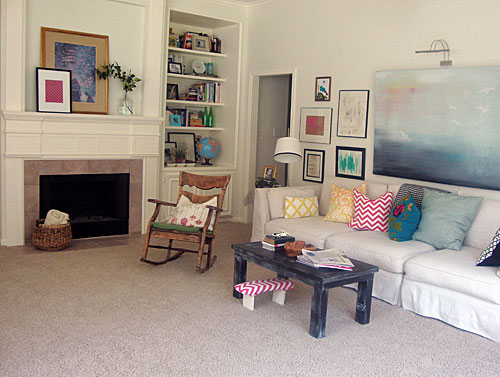
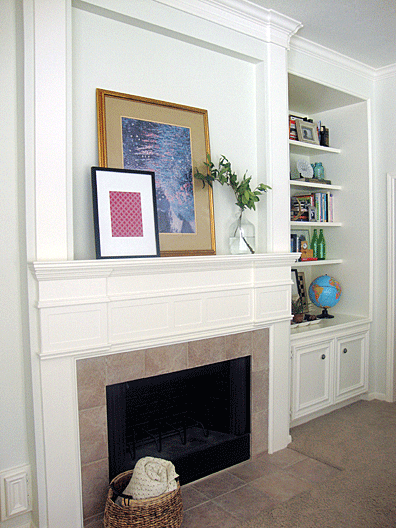
My fireplace in the living room has had random things perched on the mantel over the past few weeks, like here and here, and I have finally settled on a permanent arrangement (well, I'm sure I'll tweak it for next season, but for now it's pretty permanent!).
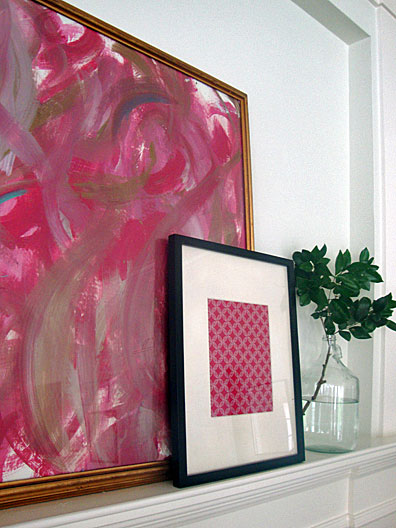
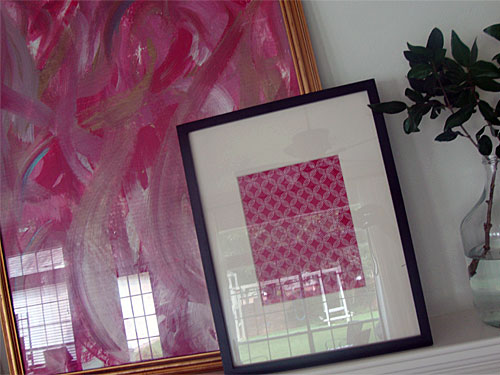
I started with some fireplace inspiration, seen here, then went to Goodwill in search of..... something, wasn't exactly sure what. I came home with a large gold frame and created artwork for the frame here. Now, I have a new piece of art on the mantel. And the husband says he likes it.... HUGE plus!!!
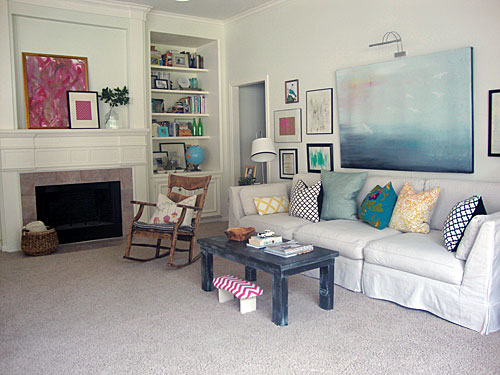
Here's a full view of the living room, the fireplace and the mantel...
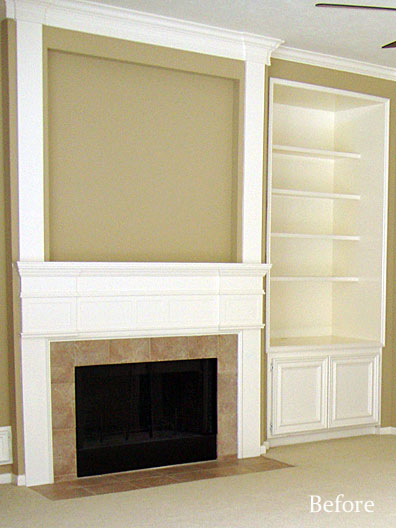
It's nice to go from this....
To this....
There were a few things done to the living room to get this far.... it's been painted, you can read about that here and here, the room was decorated, the bookshelf styled, knobs added, a brass lamp and art added, then a gallery wall created and now a spring/summer decoration for the mantel...
See you tomorrow.... I'm revealing the makeover of my son's bedroom!
Linking up to The Lettered Cottage, Remodelaholic, House of Hepworths, Coastal Charm and Skip To My Lou.
Categories:
Bookshelves,
Living Rooms,
My House - Texas,
Paint,
Wall Art
May 25, 2011
Golden Mantel
My trip to Goodwill (to update the mantel above my fireplace) was a success!!! I went with my inspiration photo in mind and came home with a large gold frame.... not a mirror like my inspiration, but I think this frame is going to be perfect (eventually). See it resting on the mantel?
It was only $8. Yes, only $8!!!
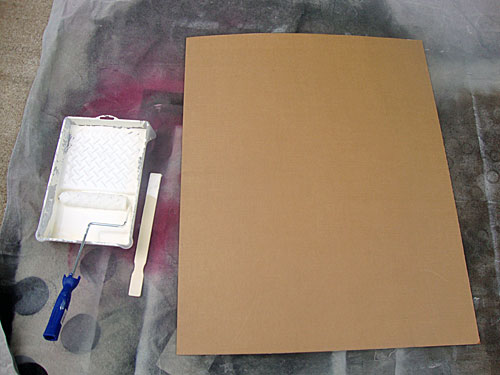
I thought the gold frame was great, but the double-matting and the artwork.... mmmm, not so much my style. So, the work began... I removed the matting and the artwork, then laid out the cardboard backing for the frame....
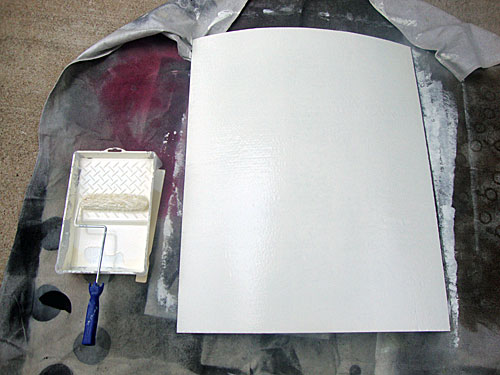
Then I painted the cardboard the color of the trim throughout my house...
Once the paint was dry, I took out a few colorful paints....
And started to create artwork for the frame...
I finished the painting and it's outside drying... so, tomorrow I'll have a new display on the fireplace mantel. For now, I'll give you a glimpse of the finished artwork.... this is one corner....
I'll see you tomorrow!!!
Categories:
DIY,
Living Rooms,
My House - Texas,
Paint,
Wall Art
May 24, 2011
Horizontal Stripes
After the roller shade was hidden in my son's bedroom, it was time to sew the curtain panels (if there's a title before 'beginner sewer', that would be me.... a straight stitch is my best friend). I gathered the fabric and materials needed to make the curtains and got to work.
The fabric (Lexington Olive, available through Tonic Living) arrived a few weeks ago and I knew I was going to like the curtains as soon as I hung the fabric for a 'test run'. I was excited to finally start the project (and finish!).... the horizontal-striped curtains have been sewn and are hung.... here they are...
Here's what the window looked like only a few days ago (that is a simple roller shade mounted inside the window)....
And now...
I sewed two floor to ceiling curtain panels.... I kept the top and bottom of the curtain fabric frayed to give a casual look and I didn't line the curtains. I only hung them to add color around the window side of the room. For complete darkness, I pull down a roller shade that is behind the fabric-covered board mounted inside the window, tutorial for the fabric board is here.
To hang the long curtains, I used hardware (rod and clip rings) that was used in our house in VA, they were originally from Walmart (and pretty cheap!).
And, one last look from directly across the window...
The bedroom is done!!! I've finished sewing, decorating and organizing, so I'll be posting before and after pictures of the bedroom at the end of the week! Stay tuned!!!
Categories:
Bedrooms - Boys,
Fabric,
My House - Texas,
Window Treatments
Subscribe to:
Posts (Atom)